Tag Archives: contaminate

photo of outdoor grow operation

How to Reduce Mold & Contaminants in Indoor, Greenhouse and Outdoor Grows

By Ketch DeGabrielle
No Comments
photo of outdoor grow operation

Controlling your grow environment doesn’t start when you germinate your first seeds, it starts before you build your grow. There are steps you can take that will have a significant impact on mold growth and contamination, and these will vary based on the grow environment you choose.

Below is a roadmap to where each grow environment stands in terms of mold and contamination risk, and simple steps you can take to mitigate these factors.

Outdoor

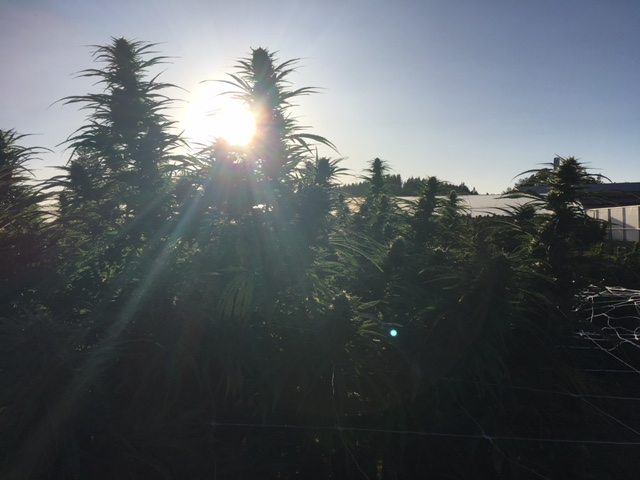
The benefits of an outdoor grow are significant – using natural sunlight to grow plants is both inexpensive and environmentally sound. However, it allows the least amount of control and makes plants susceptible to weather conditions and outdoor contaminants including dust, wind, rain and insects. Depending on humidity and precipitation levels, mold can be a big issue as well.

Outdoor growing has obvious benefits, such as natural sunlight, but may also require extra steps to prevent contamination

When selecting an outdoor area for a cannabis farm, there are two important factors to consider: location and neighboring farmland. Geographical environments and sub-climates vary and once you have purchased land, you are committed, so be sure to consider these factors prior to purchase.

While arid desert climates have abundant sunlight and long growing seasons, flat, dry lands are subject to dust-storms, flash floods and exceedingly high winds that can damage crops. Conversely, more protected areas often have high humidity and rainfall late in the season, which can create huge issues with bud rot and mold. Neighboring farms also have an impact on your grow, so be sure to find out what they cultivate, what they spray, their harvest schedule and how they run their operation. Large farming equipment kicks up a lot of contaminant-laden dust and can damage crops by displacing insects to your farm if they harvest before you. Pesticide drift is also a major issue as even tiny amounts from a neighbor’s farm can cause your crops to fail testing, depending on what state you are in.

With outdoor grow environments always at the mercy of Mother Nature, any cultivator is wise to control contamination potential on the ground. Cover soil and protect your crop by planting cover crops and laying plastic mulch on as much ground as reasonable. In many cases it makes sense to irrigate uncultivated parts of your farm just to keep dust down.
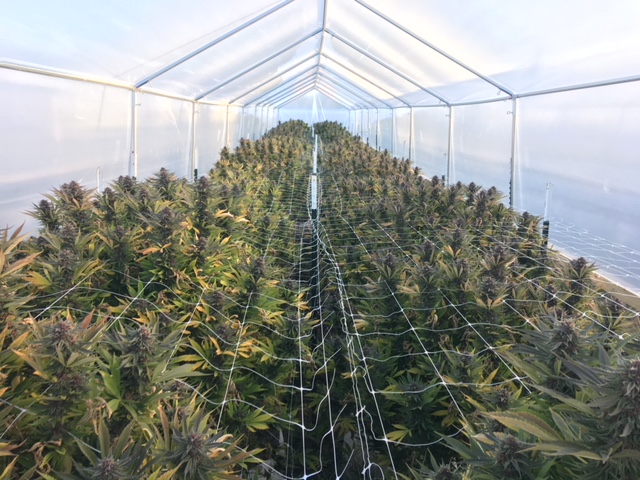
Greenhouse

Greenhouses are the future of cannabis cultivation. They allow growers to capture the full spectrum and power of the sun while lessening environmental impact and operating expenses, while still being able to precisely control the environment to grow great cannabis. With recent advancements in greenhouse technology such as automated control systems, positive pressure, geothermal heating or cooling and LED supplemental lighting, greenhouses are the future. However, older or economy greenhouses that take in unfiltered air from outside still have a medium amount of mold and contamination risk.

A greenhouse grow facility

Before building your greenhouse, study the area while taking into account climate, weather conditions and sun exposure. Excessively windy areas can blow in contaminants, and extremely hot climates make cooling the greenhouse interior a challenging and costly endeavor.

There are several simple operational tactics to reduce contaminants in a greenhouse. Add a thrip screen to keep insects out, thoroughly clean pad walls with an oxidizing agent after each cycle, and keep plants at least 10 feet from pad walls. Plan to flip the entire greenhouse at once so that you can clean the greenhouse top to bottom before your next crop. A continuous harvest in your greenhouse allows contaminants to jump from one plant to the next and reduces the ability to control your environment and eliminate problems at the end of a cycle. Lastly, open shade curtains slowly in the morning. This prevents temperature inversion and condensation, which can cause water drops to fall from the ceiling and transfer contaminants onto plants below.

Indoor

An indoor environment offers ultimate control to any grow operation. Cultivators can grow high-quality cannabis with the smallest potential for yeast and mold growth. Unfortunately, indoor environments are extremely expensive, inefficient and environmentally costly.

Talltrees
An indoor cannabis operation set up (Image: Tall Trees LED Company)

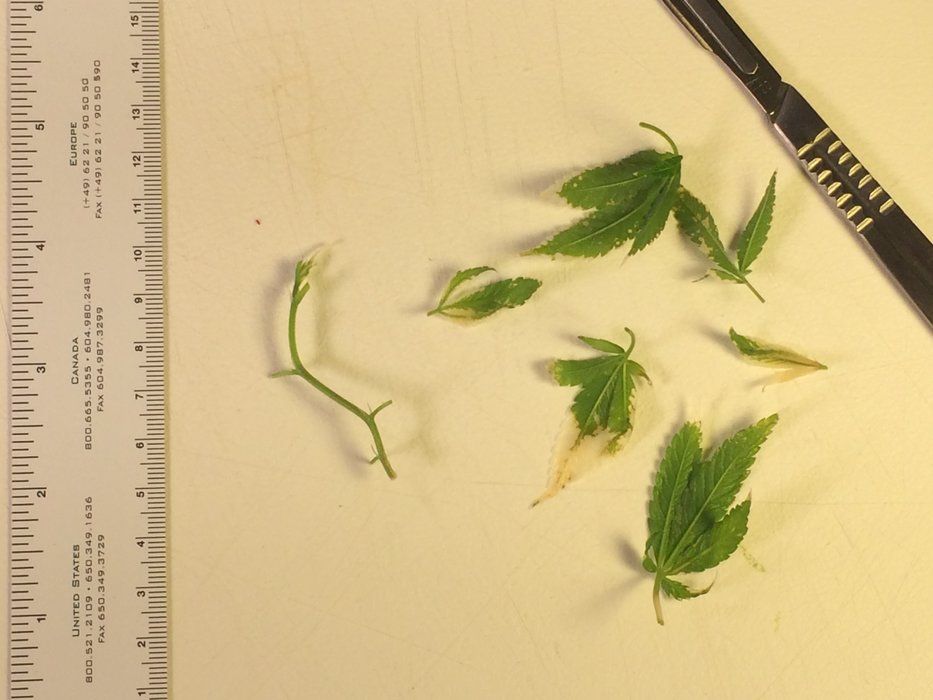
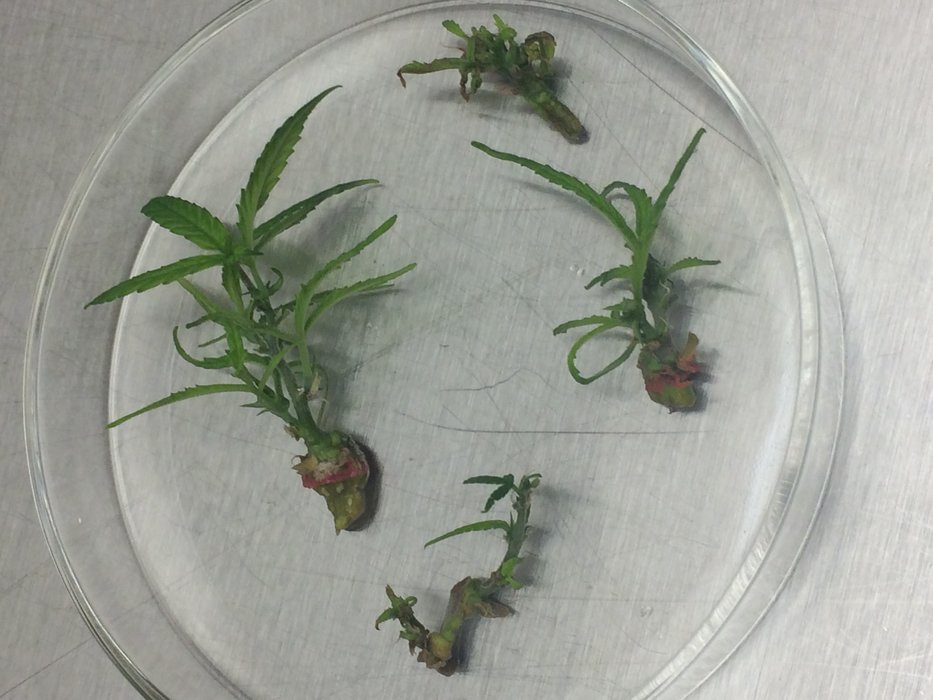
With indoor grow environments, keeping mold and contaminants at bay comes down to following a regimented plan that keeps all grow aspects clean and in order. To keep your grow environment clean, change HVAC filters multiple times a month. It’s also important to install HEPA filters and UV lights in HVAC systems to further reduce contamination threats. Clearly mark air returns if they are near the ground and keep those areas free of clutter. They are the lungs of your grow. Also, stop using brooms in the grow space. They stir up a lot of contaminants that have settled to the floor. Instead, use HEPA filter backpack vacuums or install a central vacuum system. Set up a “dirty room” for anything messy on a separate HVAC system, and be sure to thoroughly clean pots after every harvest cycle.

Learn more about reducing mold and contaminants in an indoor or greenhouse grow in another article from our series: 10 Ways to Reduce Mold in Your Grow.

Colorado Issues Recall, Pesticides Found In Cannabis

By Aaron G. Biros
No Comments

Last week, the Colorado Department of Revenue (DOR), the Colorado Department of Agriculture (CDA) and the Colorado Department of Public Health and Environment (CDPHE) announced a health and safety advisory for a large number of cannabis products grown and produced by Tree of Wellness Inc., doing business as Tree of Wellness. The health and safety advisory, synonymous with a product recall, was issued due to the detection of off-label pesticides in cannabis grown by Tree of Wellness.

Tests found Myclobutanil present in batches going all the way back to May, 2017, with some contaminated batches as recent as late October.

According to the press release, the CDA confirmed the presence of Myclobutanil, a near-ubiquitous fungicide used in a wide range of agricultural practices. The chemical has been a thorn in the side of the cannabis industry for being used off-label, or inappropriately, on cultivating cannabis.

Here are the batch numbers included in the recall

Myclobutanil is the active ingredient in Eagle 20, a pesticide used frequently in other agricultural fields like grapes, apples and spinach. According to UC Davis professor and Steep Hill scientist Dr. Don Land, Myclobutanil becomes significantly more dangerous when heated, or smoked. That chemical reaction produces hydrogen cyanide, an extraordinarily toxic chemical. Because of this, and the lack of research on what happens when these chemicals are burned or heated, there is a growing public concern that cannabis laced with a chemical like Myclobutanil can cause adverse health reactions.

The public health and safety advisory says they detected Myclobutanil in cannabis flower, trim, concentrates, and infused-products from Tree of Wellness. The CDPHE and DOR recommend consumers that have the affected products return them to where they were purchased for proper disposal.

Consumers in Colorado should check their labels to see if their products fall under the recall. Look for the Medical Optional Premises Cultivation License 403-00664 and/or Medical Marijuana Center License 402-00443. The recall includes batches of 23 different strains grown by Tree of Wellness.

Applications for Tissue Culture in Cannabis Growing: Part 3

By Aaron G. Biros
4 Comments

In the first part of this series, we introduced some relevant terms and principles to tissue culture micropropagation and reviewed Dr. Hope Jones’ background in the science of it. In the second part, we went into the advantages and disadvantages of using mother plants to clone and why tissue culture could help growers scale up. In the third part of this series, we are going to examine the five steps that Dr. Jones lays out to successfully micropropagate cannabis plants from tissue cultures.

Cleaning – Stage 0

Explant cuttings are obtained from mother plants. The cuttings are further separated into smaller stem pieces with a single node.

Micropropagation includes 5 stages. “Stage 0 is the preparation of mother plants and harvest of cuttings for the explant material,” says Dr. Jones. “To ensure the best chance of growing well in culture, those ladies [the mom’s] should be cleaned up and at their best. And hopefully not stressed by insects or pathogens.” She says growers should also make sure the plants are properly fertilized and watered before harvesting explants. “Obtaining the explants is done with a clean technique using new disposable blades and gloves,” says Dr. Jones. “Young shoot tips are harvested and placed in labeled, large Ziploc bags with a small amount of dilute bleach and surfactant solution, then placed in a cooler and taken to the lab.” This is a process that could be documented with record keeping and data logs to ensure the same care is taken for every explant. “Once in the lab, working in the sterile environment of the transfer hood, the cuttings are sterilized, typically with bleach and a little surfactant, and then rinsed several times with sterile water,” says Dr. Jones. Once they reach the sterile environment, Dr. Jones removes the leaves and cuts the stem down to individual nodes.

Establishment – Stage 1

Established explants propagating shoots

Establishment essentially means waiting for the shoots to develop. Establishing the culture requires an absolutely sterile environment, which is why the first step is so important. “Proper explant disinfection is equally as important is the control parameters of the facility itself,” says Dr. Jones. Mother plants are not grown in sterile facilities, but in an environment that is invariably contaminated with dust, which harbors micro-organisms, insects and other potential sources of contamination, including human handling. We discussed some of this in Part 2.

Explants, once sterilized and placed in the culture vessel, must establish to the new aseptic conditions. “Basically Stage 0 ends when the explants are cleaned and placed in the vessel. Stage 1 begins on the shelf while we patiently sit, watch and wait for the shoot growth,” says Dr. Jones. “Successful establishment means we properly disinfected the explants because the cultures do not become contaminated with bacteria or fungi and new shoot growth emerges.”

Multiplication – Stage 2

Stage 2 involves subculturing an explant to produce new shoots

This stage is rather self-explanatory as multiplication simplified means generating many more shoots per explant. In order to create a large number of plants needed for meeting the demand of weekly clone orders, Dr. Jones can break up, or subculture, one explant that contains multiple numerous new shoots. “Let’s say one vessel, which originally started with 4 explants each developed four new shoots. Working in the hood, I remove each explant from the vessel and place it on a sterile petri dish. Now I can divide each explant into 4 new explants and then place the four new explant cuttings into their own vessel. In this example, we started with one vessel with 4 explants,” says Dr. Jones. “Which when subcultured 4-6 weeks later, we now have 4 vessels with 16 plants.” This is instrumental in understanding how tissue culture micropropagation can help growers scale without the need for a ton of space and maintenance. From a single explant, you can potentially generate 70,000 plants after 48 weeks, according to Dr. Jones. “Starting with not 1, but 10 or 20 explants would significantly speed up multiplication.” Using tissue culture effectively, one can see how a grower can exponentially increase their production.

Rooting – Stage 3

“When the decision is made to move cultures to the rooting stage, we typically need to subculture the plantlets to a different media formulated to induce rooting,” says Dr. Jones. “In some instances, the media is very dark, and that’s because of the addition of activated charcoal.” Using activated charcoal, according to Dr. Jones, helps darken the rooting environment, which closely mimics a normal rooting environment. “It helps remove high levels of cytokinin and other possible inhibitory compounds,” says Dr. Jones. Cytokinins are a type of plant growth hormone commonly used to promote healthy shoot growth, but it is important to make sure the culture contains the right ratio of hormones, including cytokinin and auxin for maximum root and shoot development. Dr. Jones suggests that growers research their own media formulation to ensure nice, healthy roots develop and that no tissue dies in the process. “With everything I grow in culture, when it comes to media, in any stage and with all new strains, I run some simple experiments in order to refine the media used,” says Dr. Jones. She puts a special focus on the concentrations and ratios of plant hormones in formulating her medias.

After harvesting and multiplying, these explants are ready for rooting

“We commonly think of auxin’s role in rooting, but it’s also important in leaves and acts as a regulator of apical shoot dominance,” says Dr. Jones. “So having no auxin may not be ideal for the shooting media used in Stages 1 and 2.” Auxin is a plant hormone that can help promote the elongation of cells, an important step in any plant’s growth. “And cytokinins are typically synthesized in the root and moves through xylem to shoots to regulate mitosis as well as inducing lateral bud branching, so again finding that nice balance between these two hormones is key.”

Acclimation & Hardening Off – Stage 4

“When plants have developed good looking healthy roots, it’s time to pop the top,” says Dr. Jones. This means opening the vessel, another risk for contamination, which is why having a clean environment is so crucial. “The location of these vessels needs to be tightly controlled for light, relative humidity, temperature and cleanliness.” In the culture, sugar is a main ingredient in the medium, because the growing explants are not very photosynthetically active. “By opening the lid of the vessel, carbon dioxide is introduced to the environment, which promotes and enhances photosynthesis, really getting the plants ready for cultivation.”

Harvesting explant material from mother plants

The very final step in tissue culture micropropagation is hardening, which involves the formation of the waxy cuticle on the leaves of the plant, according to Dr. Jones. This is what preps the plant to actually survive in an unsterile environment. “The rooted plants are removed from the culture vessel, the media washed off and placed in a potting mix/matrix or plug and kept in high humidity and low light,” says Dr. Jones. “Now that there is no sugar, contamination is no longer a threat, and these plants can be moved to the grow facility.” She says conditioning these plants can take one or two weeks. Over that time, growers should gradually increase light intensity and bring down the relative humidity to normal growing conditions.

Overall, this process, if done efficiently, can take roughly eleven weeks from prepping the explants to acclimation and hardening. If growers perform all the steps correctly and with extra care to reduce risks of contamination, one can produce thousands of plants in a matter of weeks.

In the fourth and final part of this series, we are going to dive into implementation. In that piece, we will discuss design principles for tissue culture facilities, equipment and instrumentation and some real-world case studies of tissue culture micropropagation.