Formulating a Plan
In this article you will learn how to control pests and improve the health of your cannabis plants using integrated pest management, commonly referred to as IPM. This involves a multi-point strategy – there is no quick fix, nor is there one solution that will wipe out all your pest problems. Proper pest management requires patience, consistency and determination.
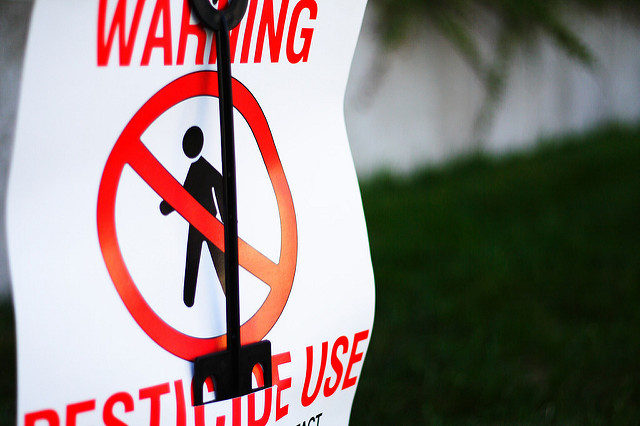
It is important to understand that not all pesticides are bad. While many are incredibly harmful not only to pests, but also humans, in this article I will educate you about some of the safer alternatives to traditional pesticides. It is possible to safely control unwanted pests in your cannabis garden without harming yourself, your employees or the natural habitat around you.
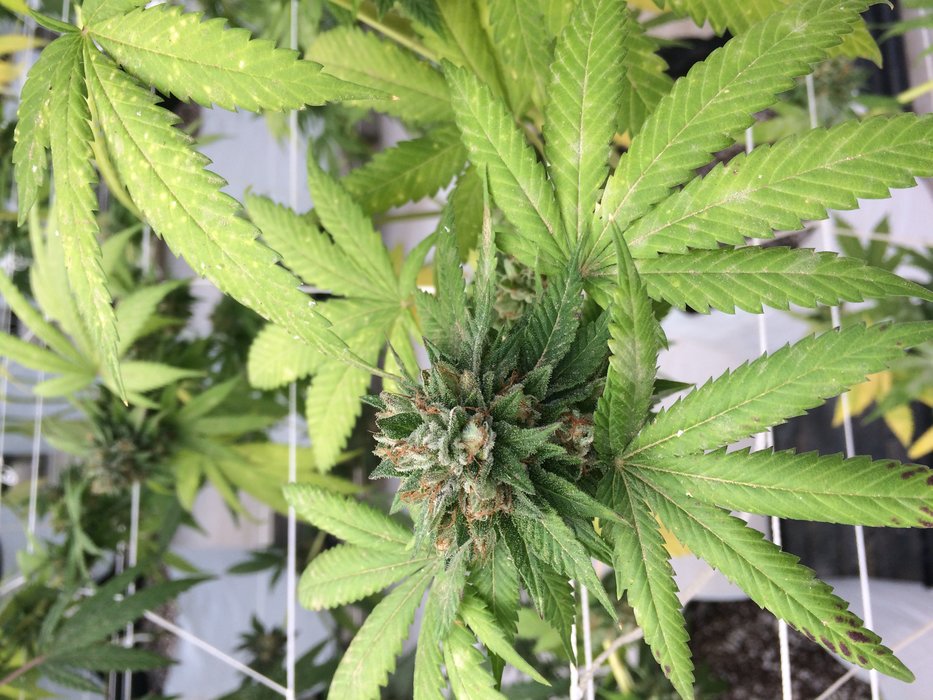
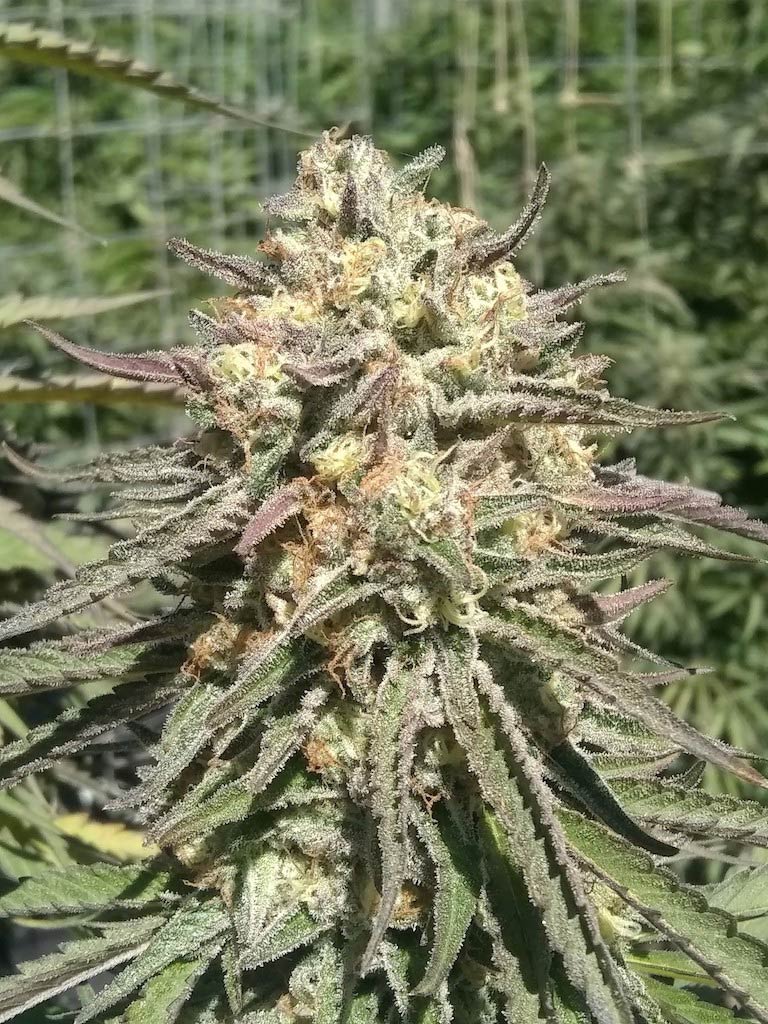
Every cultivation facility should have a well-thought-out plan for their pest management program. This program should account for the prevention, and if necessary, eradication of: spider mites, russet mites, fungus gnats, root aphids, thrips and caterpillars. These are just a few of the more common pests you’ll find in a cannabis garden. There could also be many other less commonly known bugs, so you have to be vigilant in looking closely at your plants, and the soil, at all times. Complete eradication of a targeted pest can be difficult. Once a pest has established itself, decimating or decreasing the population will require an aggressive regimen that includes spraying daily to control populations and prevent other pests from getting established.
Spraying or applying pesticides to the foliage of plants isn’t the only way to control or eradicate pest populations. There are many other ways that you can minimize the spread of pests without the use of pesticides. In greenhouse and outdoor grows, growing specific types of plants around the cultivation area will attract both beneficial and predator bugs that will naturally control pest populations. Some plants that attract these bugs are: mint, peppers, and marigold. Beneficial and predator bugs, such as ladybugs, predator wasps and predator mites, can control unwanted pest populations in the area before they even have a chance to become a problem in your garden. Plants and flowers that attract bees, birds and insects will also create helpful bio- diversity, making it more difficult for the unwanted pests to thrive.
For indoor cultivation, it is imperative that you have your cultivation facility set up for a proper workflow. If you already have pests, you need to make sure you are not contaminating the rest of your facility when going from one area to the next. Make sure that you only go to contaminated areas at the very end of your day, and when you’re done working in that area, you must immediately exit the building. Do not ever walk back through the uncontaminated parts of your facility or the pests will spread quickly.
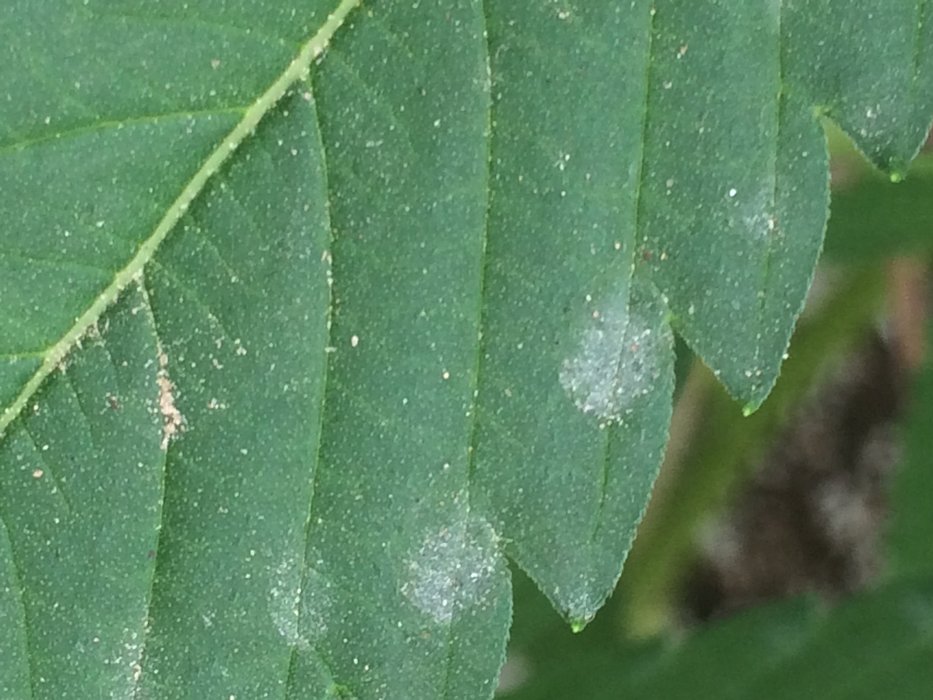
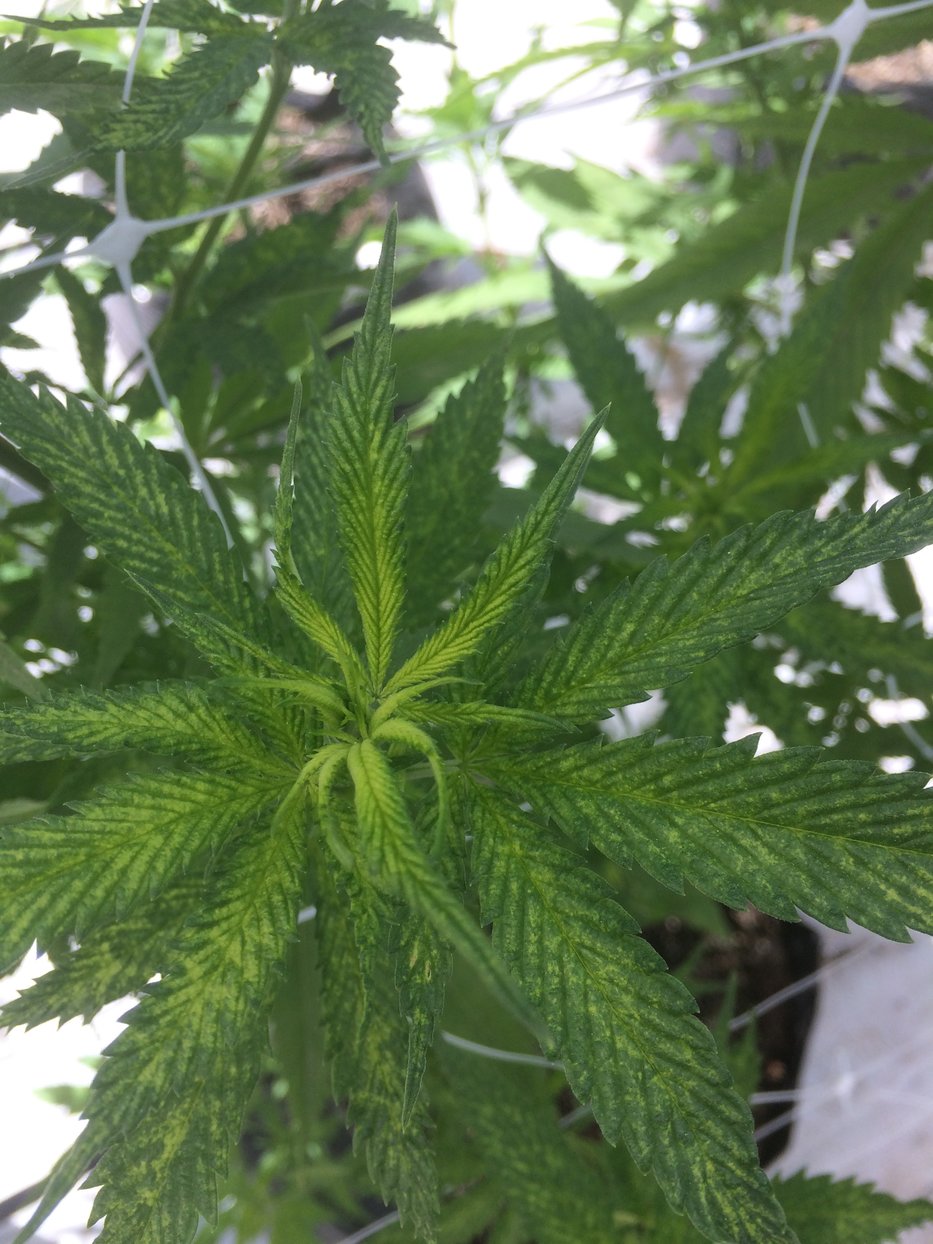
When most people think of pests in their cannabis garden they think of the more common varieties: spider mites, russet mites, aphids and thrips. However, there are also soil-dwelling pests that can exist, without your knowledge. These will decrease the health and vigor of your plants, without you even knowing they’re there, if you’re not careful to check for them. Some of the soil dwelling pests that plague cannabis plants are: root aphids, fungus gnat larvae and grubs. It is just as important to control the pests below the soil, feeding on your roots, as it is to control the pests that feed above soil on your plants.
Maintaining healthy plants is essential to controlling pest populations, both on the foliage and below the soil. Healthy plants will have an easier time fighting off pests than unhealthy plants. Plants have immune systems just like humans, and the stronger the plant’s immune system, the more likely it will be able to ward off pests and diseases. Allowing a plant to reach its full potential, by minimizing pests, means your plants will also have a better quality, smell and flavor, not to mention a bigger yield.
Worker Safety, Regulation and REI times
The application of pesticides requires certification from the state agricultural department. In certain situations, depending on the type of pesticide and method of application, a license may even be required. The application of pesticides without proper certification is against the law. Applying pesticides in a manner that is not in accordance with the label and instructions is also a violation of law.
The proper personal protective equipment (PPE) is required for anybody handling, mixing or applying pesticides. Employees can be a liability to your company if they are applying pesticides improperly. Make sure you and your entire staff are well educated about pesticide use requirements and limitations, prior to usage, and that only a properly certified person is handling the mixing and application at your facility.

After a pesticide is applied, you must abide by the re-entry interval (REI). This is the required time period limiting all workers from re-entry into areas where pesticides have been applied. This time period will vary depending on the type of pesticide used and the method of application. In some instances, pesticides applied in the last 30 days may require employee training before work can be done in those areas.
The misuse of or improper handling of pesticides is not only unlawful and dangerous to human health, but can also cause environmental damage to waterways and wildlife. The direct effects of pesticides on wildlife include acute poisoning, immunotoxicity, endocrine disruption, reproductive failure, altered morphology and growth rates and changes in behavior. Pesticides can indirectly impact wildlife through reduction of food resources and refuses, starvation due to decreased prey availability, hypothermia and secondary poisoning. Section 1602 of the California Fish and Game Code governs requirements for permitting of any project where pesticides will be used, and strictly regulates the disposal of all waste and run-off. It is imperative to know the regulations and to abide by them, or heavy fines will ensue!
Using Pesticides in a Regulated Market
Knowing which pesticides you can’t use, to avoid failing mandatory state testing, is just as important as knowing which ones you can use safely to pass required testing. Most states with regulated markets have strict limitations on the pesticides that can be used in cannabis cultivation. Pesticide use in the cultivation of cannabis is the most strictly regulated in the agriculture industry; the pesticides allowed for use in cannabis cultivation are far more limited than any other crop.
Just because a product is certified organic does not mean that it can be used, or that it is safe to be consumed or ingested. Oftentimes when cannabis flower alone is tested it will not fail or show a detectable amount of pesticides or heavy metals. However, when that flower is turned into concentrates, banned substances are then detected in testing, leading to test failures.
Cannabis cultivation facilities that are located on land that was previously used for conventional agriculture, or located near vineyards or other agricultural crops that are heavily sprayed with harmful pesticides, run a very high-risk failing testing. This is because of either spray drift from nearby agriculture, or residual pesticides and heavy metals left in the soil from previous crops that were using pesticides banned for cannabis cultivation. Accordingly, if you’re going to be growing outdoors or in a greenhouse, it is imperative that you get a soil and water test prior to cultivation, so you can determine if there is any potential for test failures due to pesticides or heavy metals in the soil or water in that area.
Proper Application – Using the Right Tools in the Right Way at the Right Time
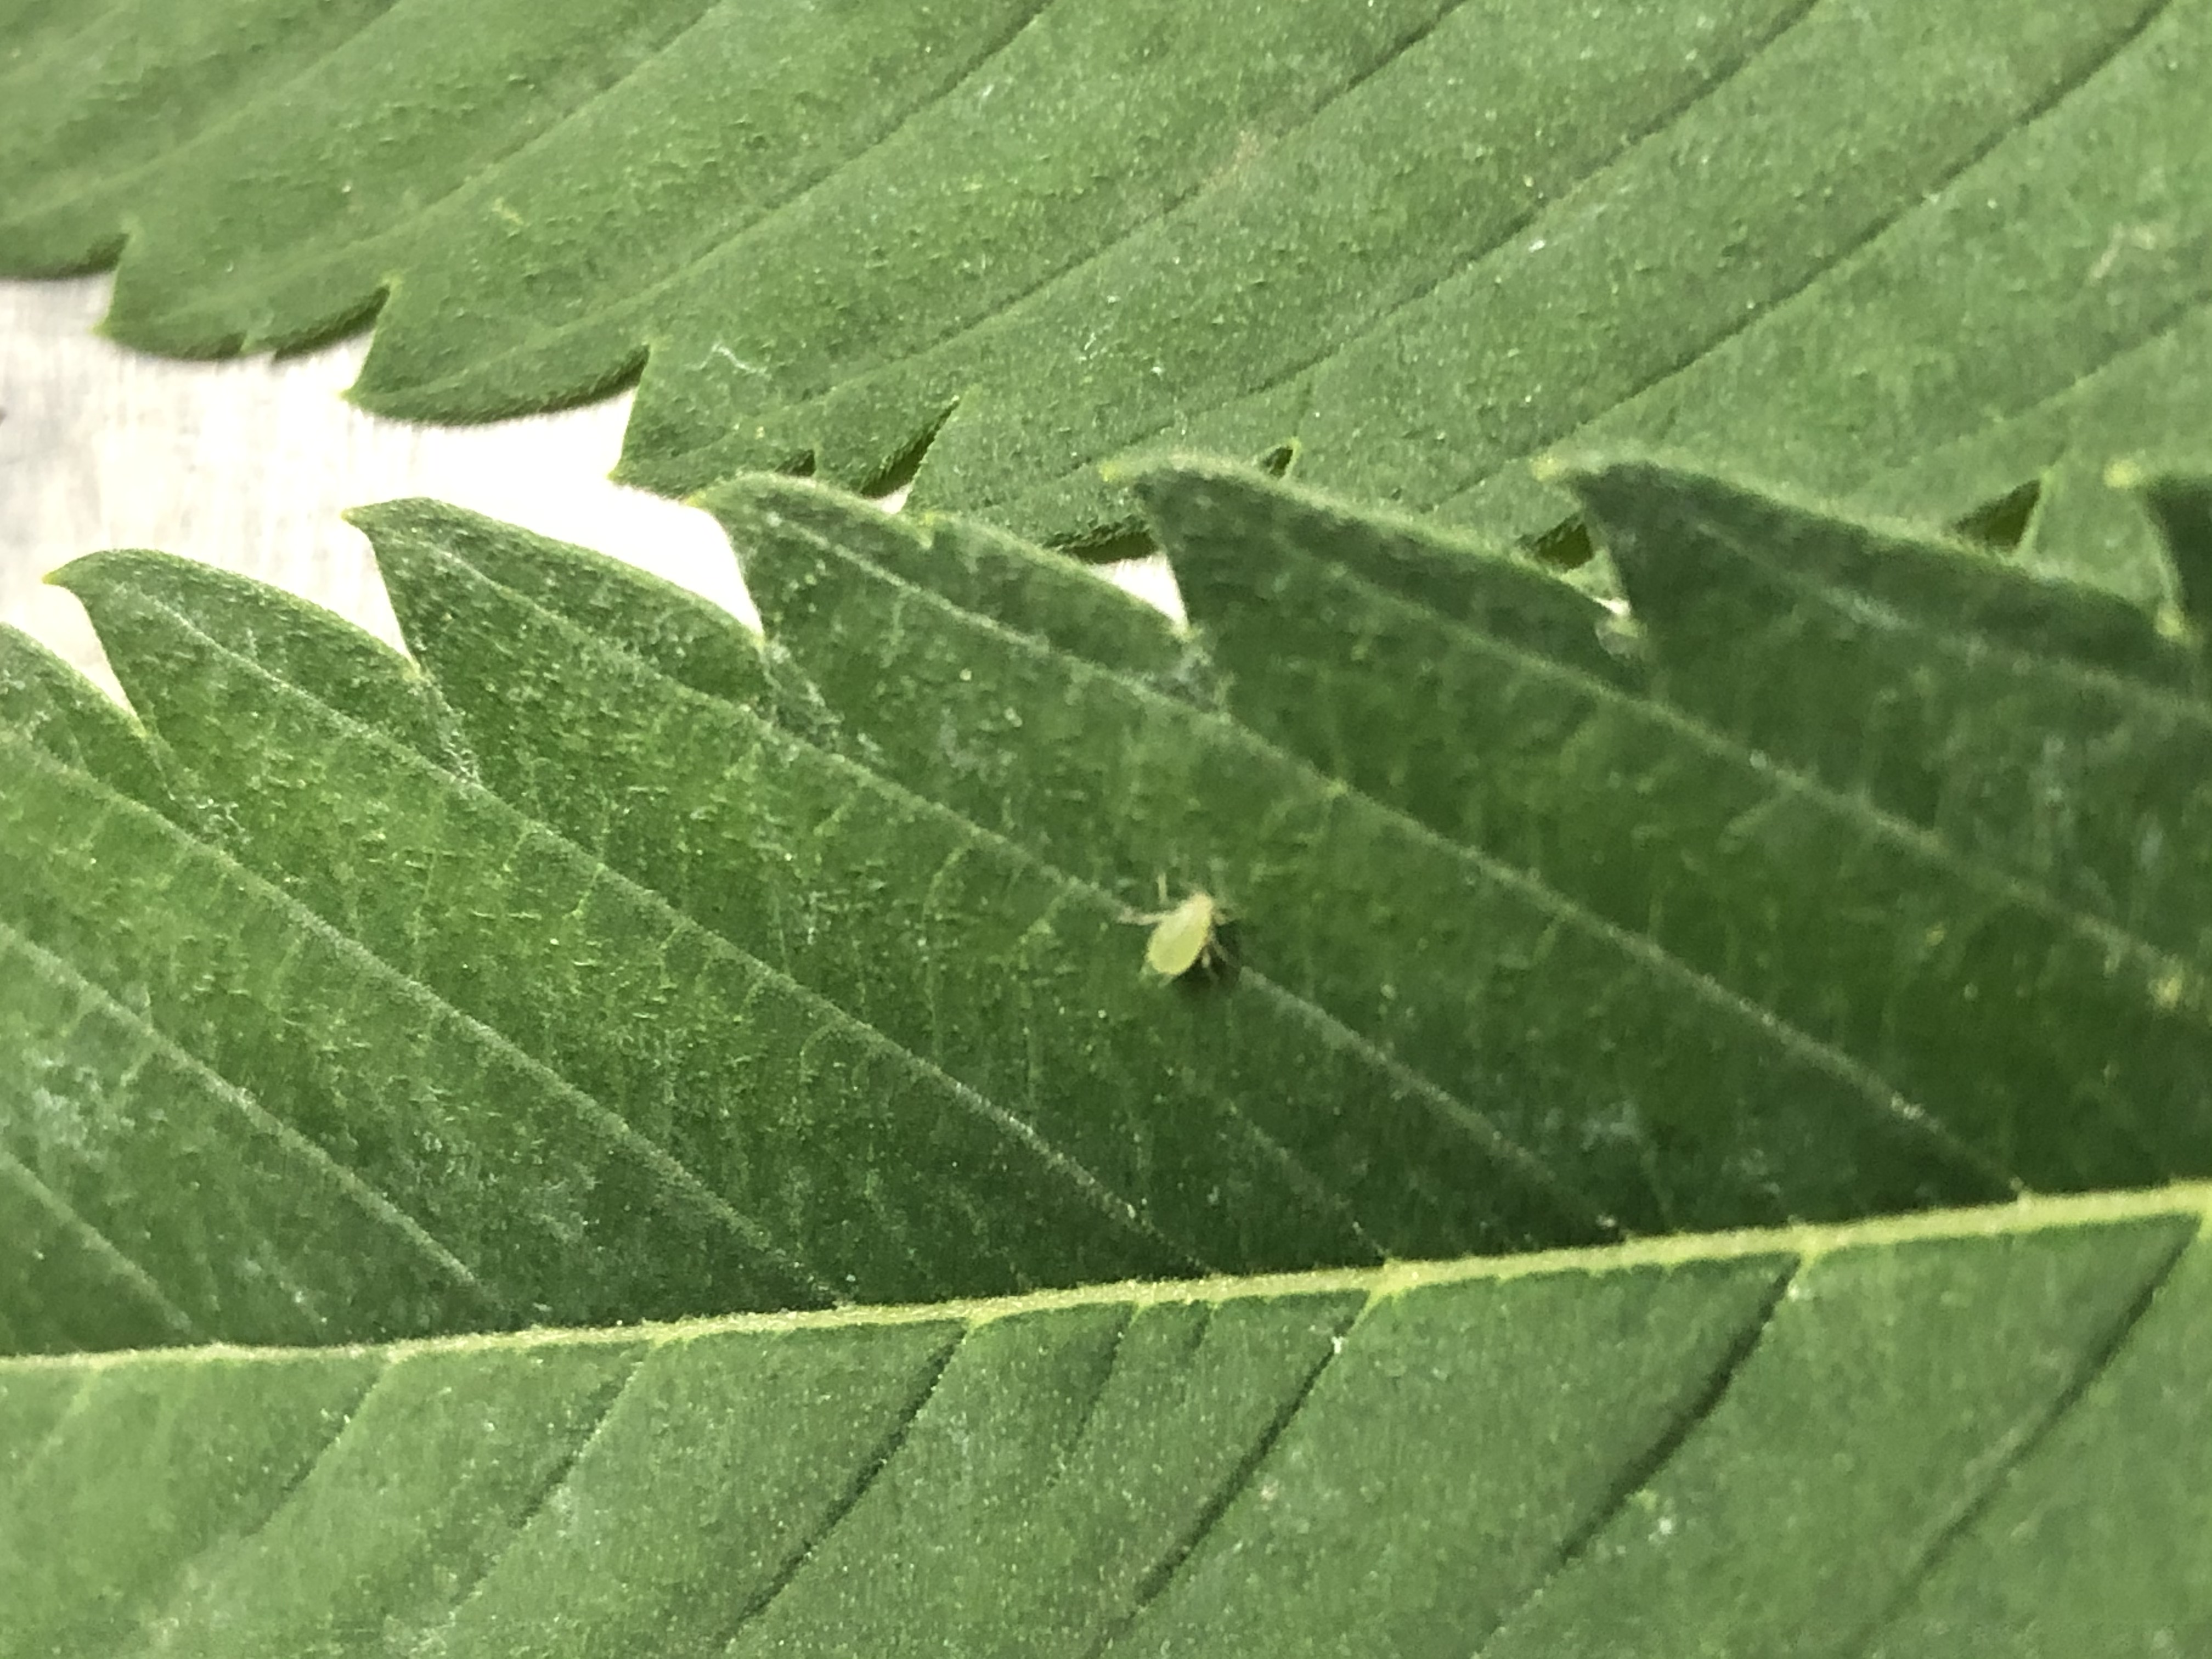
One of the most important factors in pest management is proper identification of pests and proper application and coverage of pesticides. It does not require an entomology degree to identify insects, these days there is a lot of information online that can help you identify cannabis pests. Proper identification of insects can make the difference between success and failure. With a good eye and a microscope, if you do your research, you can control most insects in your garden.
In order to control pests in your garden you must get proper coverage of the foliage of the plant when you are applying pesticides. There are different types of equipment that are commonly used to apply pesticides in cannabis cultivation: backpack sprayers, foggers, and airless paint sprayers are the most common. An alternative method involves using an automated dosing system such as a dosatron, which injects fertilizer or pesticides at a specific ratio into your water lines, allowing you to use only the exact amount of pesticide you need. That way you avoid wasting money on unused pesticides. It is also safer for employees because it minimizes employee exposure, since there is no mixing required, and it allows for a large volume to be sprayed, without refilling a tank or a backpack sprayer.
No matter what you are using you must ensure you get the proper coverage on your plants in order to control pests. The temperature and humidity of your cultivation area, as well as the PH and temperature of the pesticide solution, all factor into the success of your IPM. For example, PFR 97 needs to be applied at a higher humidity range, around 70% to be most effective. In some areas this is not possible so repeated applications may be required to ensure the application is effective. A high PH or alkaline PH can cause alkaline hydrolysis which will make your pesticide solution less effective and will dictate how long your pesticides remain effective after they are mixed. It is therefore important to use your pesticide solution as soon as you make it; don’t let it sit around for long periods of time before use or it will be less effective.
In cannabis cultivation there are two different primary growth cycles: vegetative and flower. These cycles require different IPM strategies. In general, during the flowering cycle, pesticides should not be applied after the second week, with some limited exceptions i.e. for outdoor cultivation there is a longer window to spray since the flower set takes longer than a plant being grown inside, or in a light deprivation greenhouse, where there is a 12/12 flowering cycle.
For the vegetative (non-flowering) cycle, a strict rotation of foliage spray applications targeting not only pests, but also molds and pathogens, will be necessary to avoid a quick onset of infestation. Starting with an immaculate vegetation room is crucial to maintaining pest and mold free plants in the flowering cycle. Preventative sprays that are safe for use include: safer soap (contact kill) for soft bodied chewing insects; Regalia (biological control) for powdery mildew; and PFR 97 (biological control) for soft bodied chewing insects. It is also helpful to spray kelp, which strengthens the cell walls of plants, making the plant healthier, and thus enabling the plant to better defend itself from pests and diseases. Also, Bacillus thuringiensis (Bt) is useful to prevent or kill caterpillars.
The best way to control a pest infestation in the flowering cycle is at the very beginning on day one. You must start aggressively, with a three-way control consisting of a contact kill and preventative during days 1-14; preventative and biological control during days 10-18; and then release predator bugs on day 25, for optimal results. Knocking back the population with an effective contact kill pesticide early on is essential to ultimately lowering populations throughout the grow cycle, so that you can spray a biological control to preclude them from returning, before you release the predatory bugs at the end of the cycle.
Biological controls can take anywhere from 3 to 10 days before they are effective. Biological pesticides are selected strains of bacteria or fungus. When the plant tissue is eaten by a targeted pest, the bacteria kills the pest from the inside providing control without having to spray pesticides repeatedly. Predator bugs are the last line of defense, used in late flowering. They can be used indoors, outdoors and in greenhouses. An example of a common predator bug is Amblyseius californicus used to control low populations of spider mites, but there are many different varieties and they are specific depending on the type of pest population you seek to control.
A common concern with the use of predatory bugs, is whether they will be present when the flowers are harvested. However, if there is no food for the bugs (i.e. pests) the predator bugs will leave in search of food elsewhere. Further, indoor predator bugs are usually very small in size and difficult to see to an untrained eye. It is very unlikely to see any signs of predator bugs near the end of the flowering cycle, or in the finished flower product. Even when using bigger predator bugs, the bugs will leave the plants when harvested and dried.
Having pests can be very stressful. It is not uncommon to have bugs, pests, rodents, animals and birds cause damage in cannabis gardens. Making an informed decision based on science and not on unproven assumptions can determine how successful you are at pest management. There are many factors that go into pest management and no one situation is the same. You must be dedicated and consistent; pest management never stops. You will always have something ready to invade your garden. Prepare, plan, prevent and repeat!