Tag Archives: flowering

Your Cultivation Plan is the Most Important Factor to Increase Your Yield

By David Perkins
No Comments

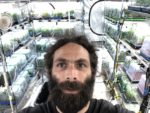
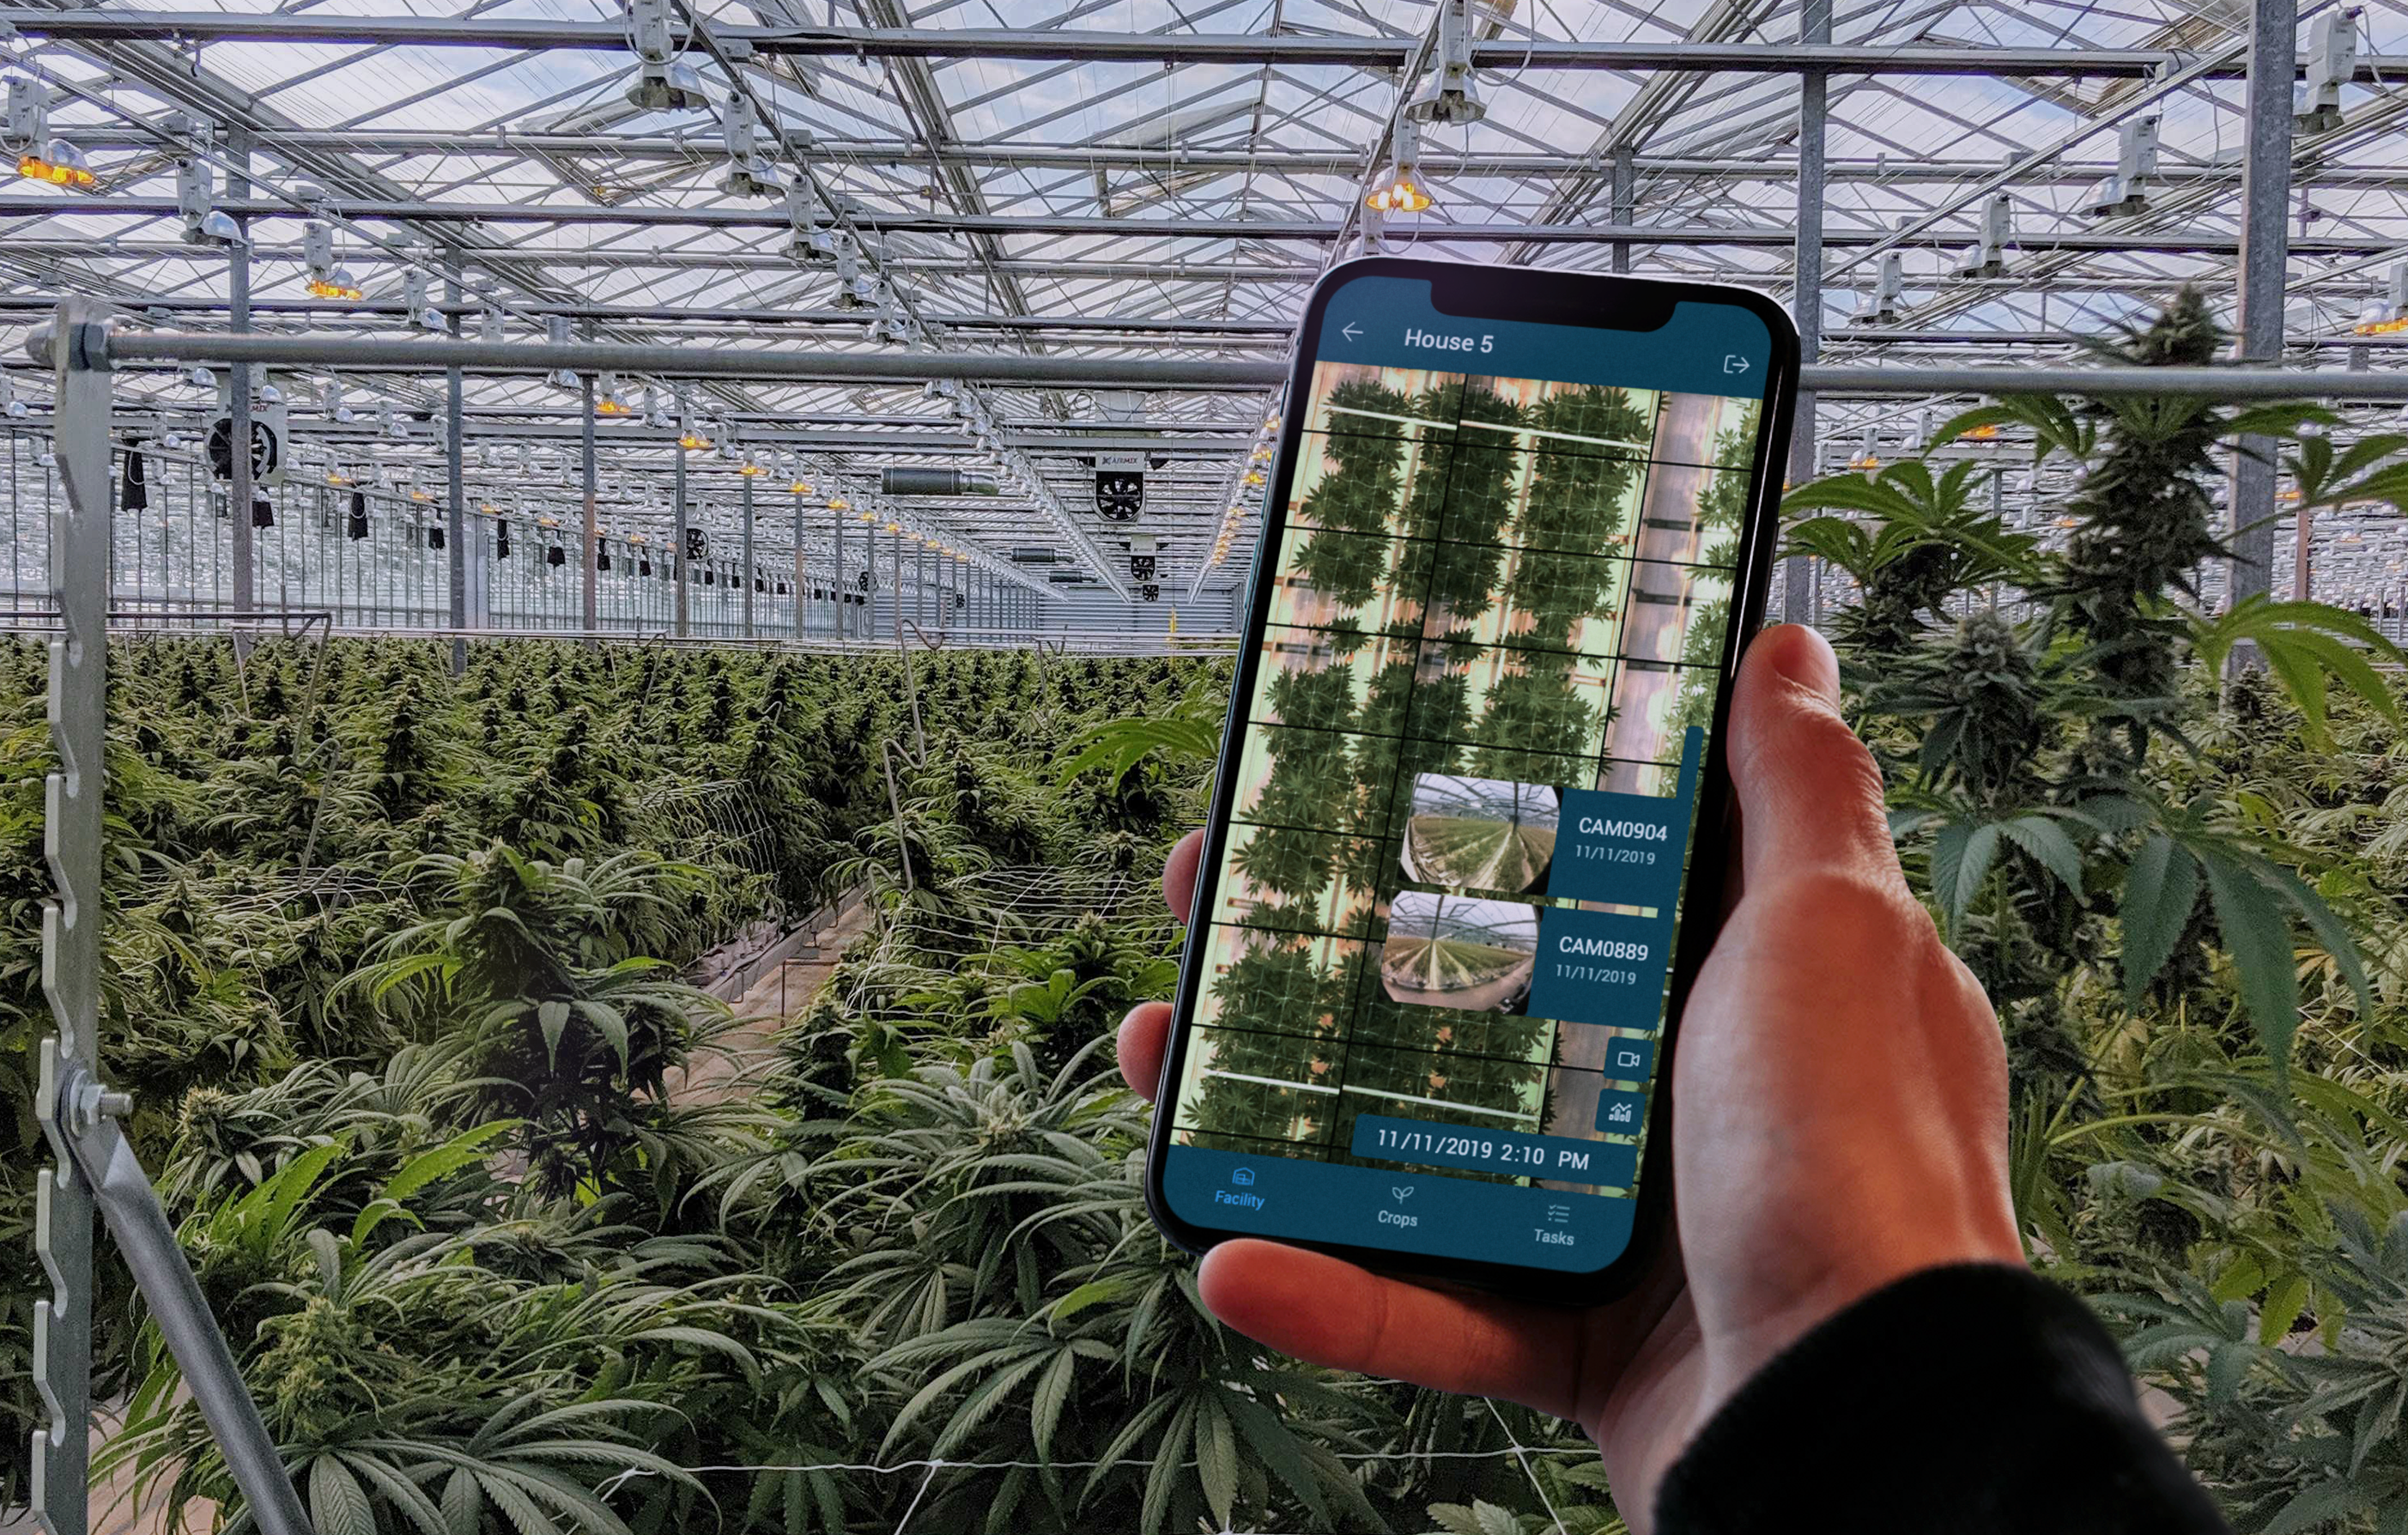
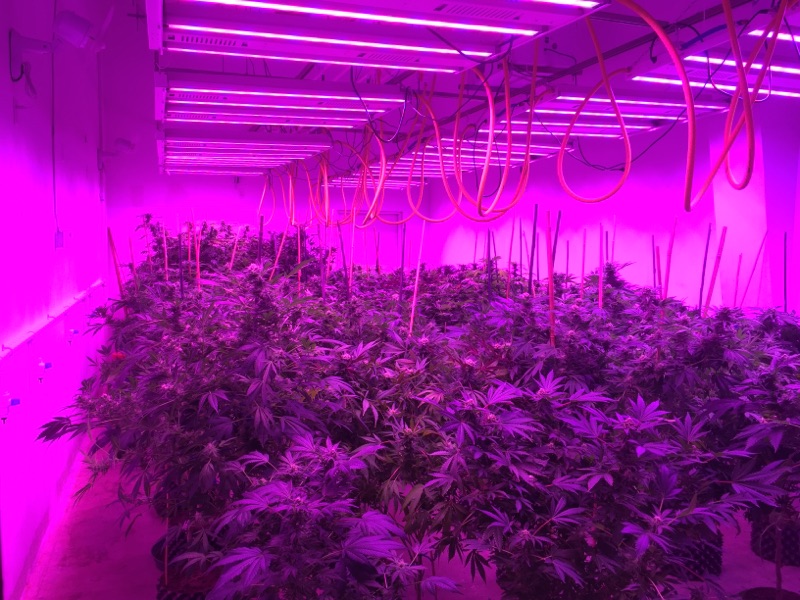
Having a well-built grow room with adequate lighting, the ability to properly control the environment, proper nutrient feedings, a good pest management plan, well trained employees and an experienced cultivation manager are very important to the overall output of cannabis plants. However, even if you have all those measures in place, there’s no guarantee of success. One factor that is often overlooked is how many harvests you can get per year, as clearly the more harvests you can get in a given time period, the more likely your chances of success are in this competitive industry. This is why having a good cultivation plan in place, with proper foresight and planning, is so essential to success.

Increasing yield or production output in a cannabis cultivation facility can often be as simple as having the right cultivation plan in place to ensure that you are harvesting the maximum number of times per year. All it requires is a well thought out plan, and best of all, that does not cost any money if you have someone with enough cultivation experience assisting you and will earn back more than the cost of paying a consultant to get such a plan in place.

In this article I will explain why changing nutrients, grow media or even a cultivation manager may not necessarily increase yield, quality or your chance of success. What you should be focusing on is your cultivation plan and the scheduling of your cultivation cycles.

  1. Why changing nutrient companies may not necessarily increase your yield
Nutrient dosers are used to inject fertilizer directly into irrigation lines

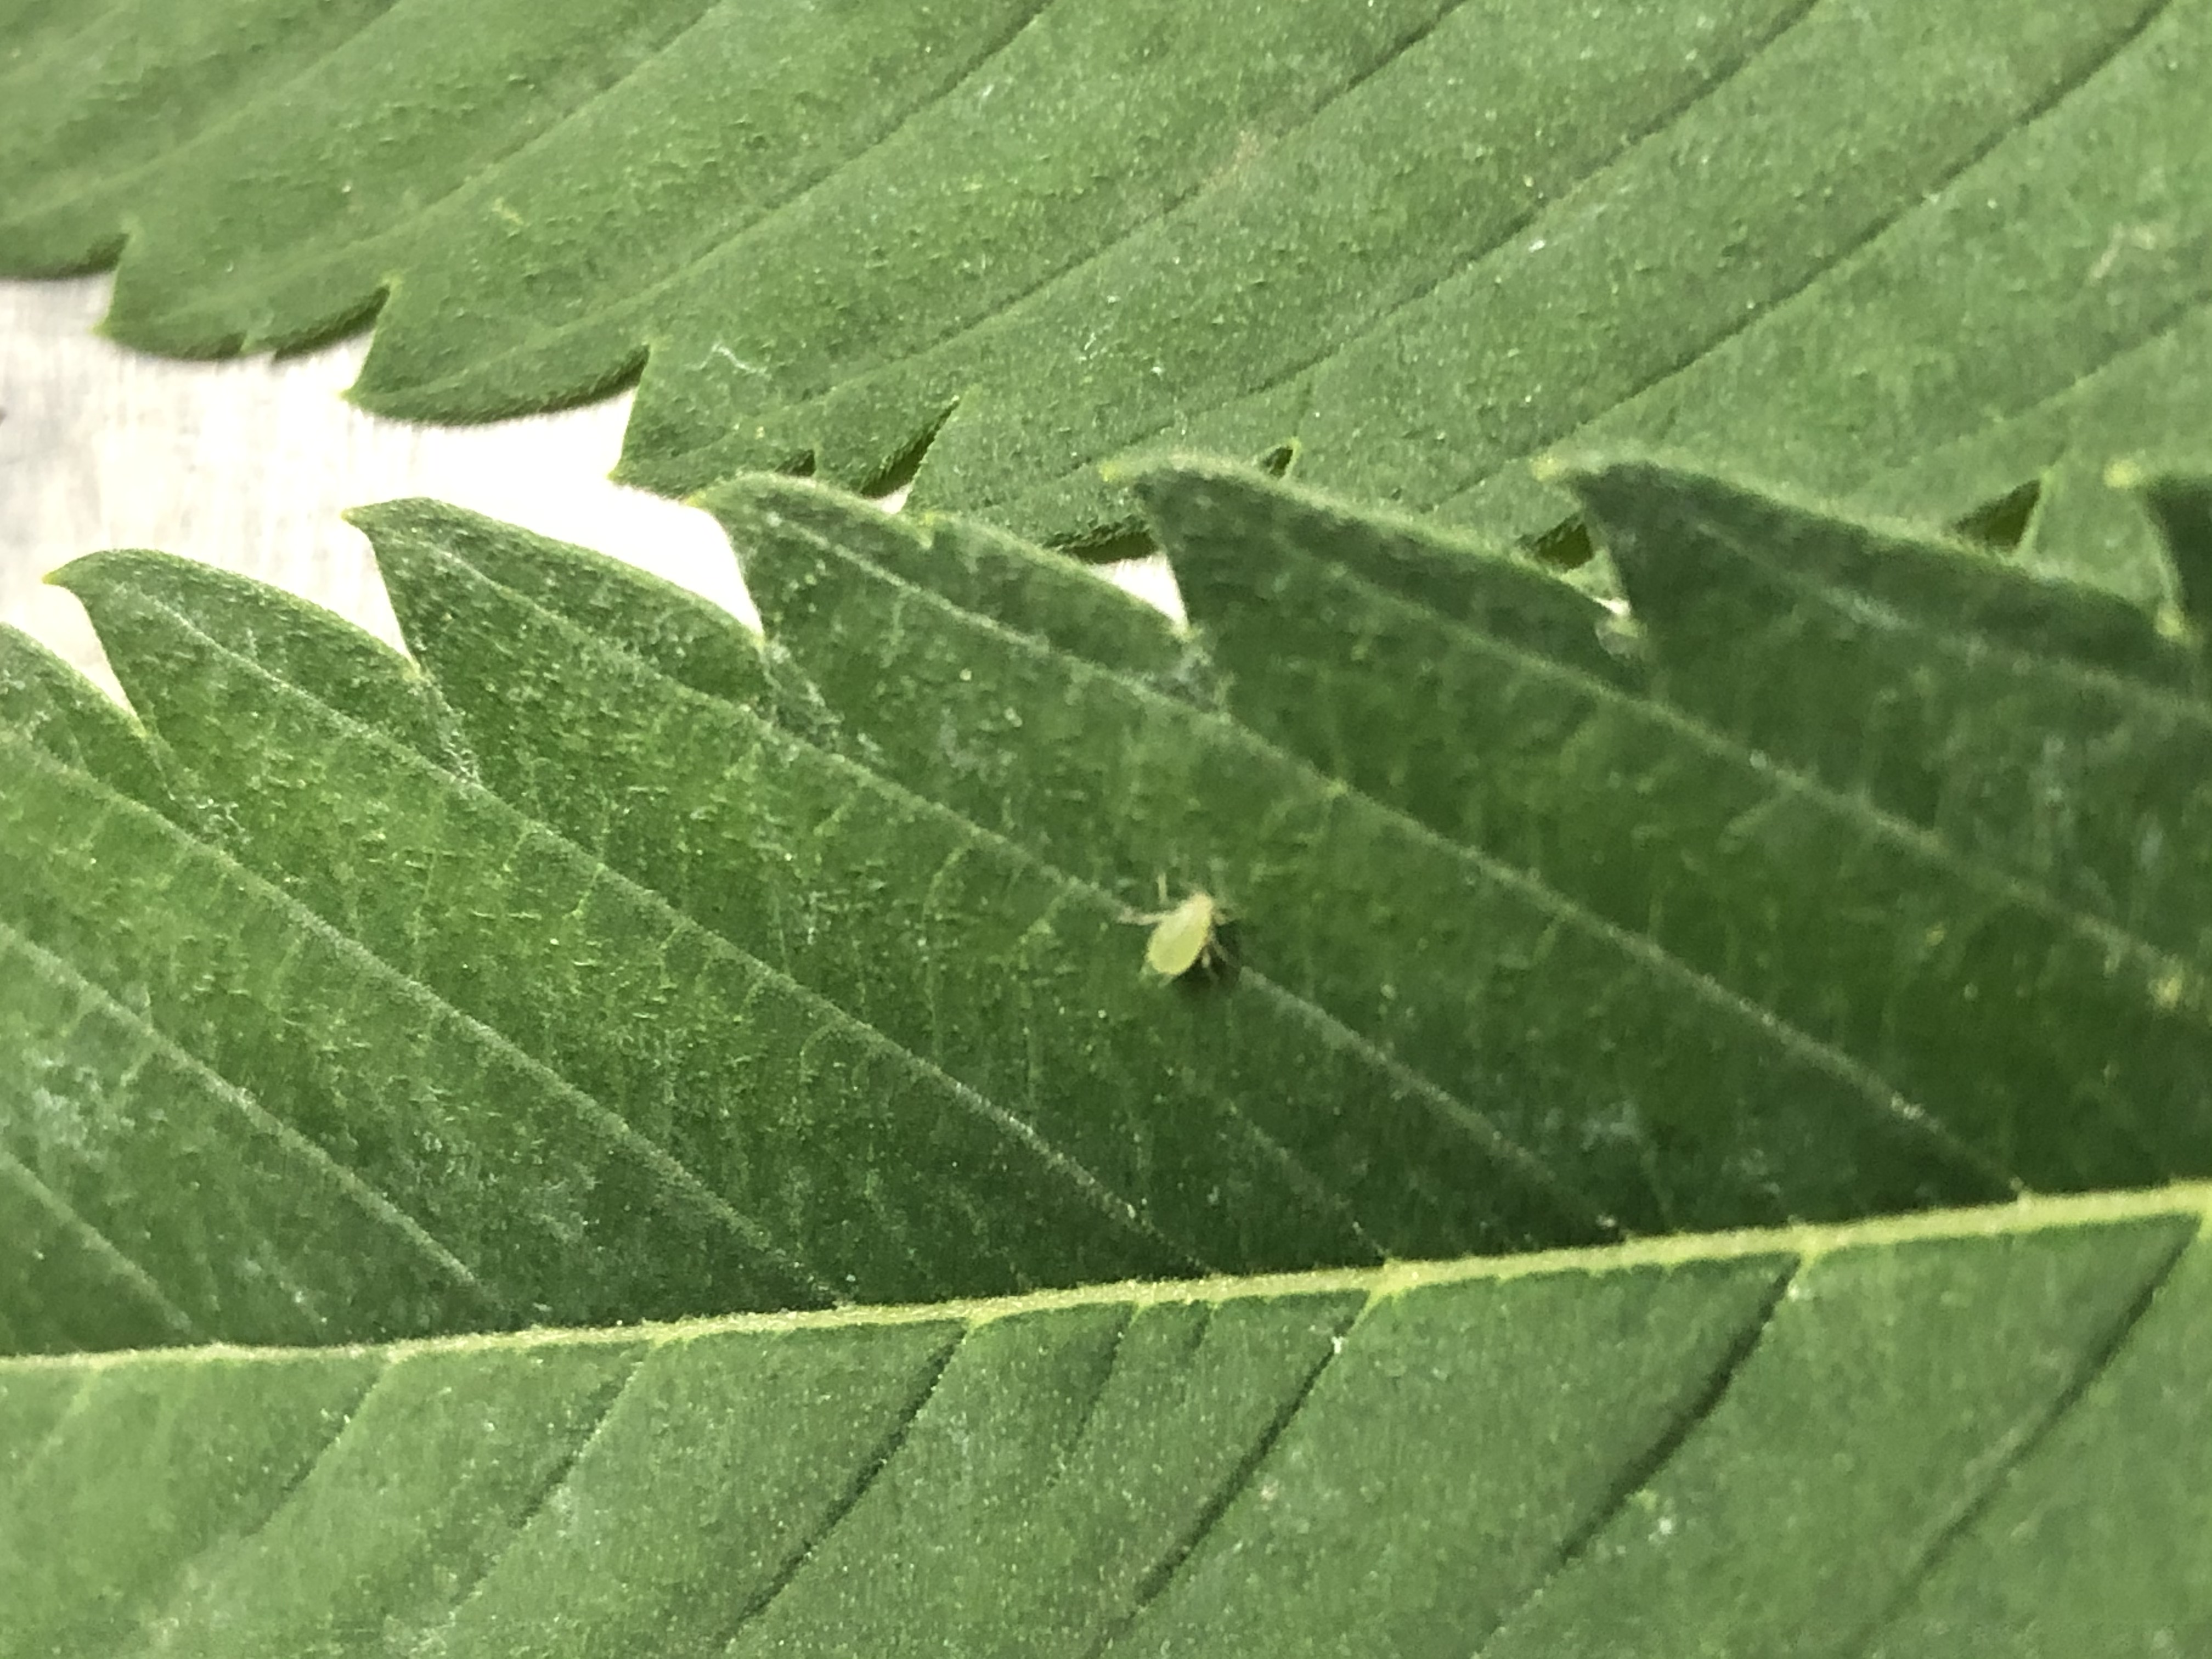
For the most part, nutrient companies use the same ingredients in their product lines and often buy them from the same source, but they combine them in different forms and ratios to create their “unique” product. You can go to a grow store, pick five different nutrient products, read the labels and compare the different nutrients in each one. You will find for the most part that they are very similar. Generally speaking, you could pick any one of those five nutrient companies and have great results. Mixing nutrients into a nutrient tank needs to be done precisely and if your employees are not doing it properly this can lead to plant health issues. In larger cultivation facilities, often nutrient dosers are used to inject fertilizer into the irrigation lines without having to mix nutrients. However, if the dosers are not set to the proper ratios, this can also lead to plant health issues.

There are a few companies that I really like that have a different approach to plant nutrition, which saves time and can prevent human error associated with mixing and applying liquid nutrients. Soilscape solutions, Organics Alive and Beanstock Agriculture all have nutrient lines that are intended to be used with soil or soilless media that can be amended into the soil which provide a slow steady release of nutrients that the plants can uptake as needed. This avoids the risk of human error in repeatedly applying liquid nutrients to the plants.

  1. Why changing grow medium and nutrients will not necessarily improve your yield but may increase yourquality

Whether it is rock wool, coco fiber, a soilless mix or living soil, everything has a limit. Giving your plants the proper amount of water and the frequency at which you water, along with having sufficient room for the roots to grow are key factors to ensuring plant health. If your plants aren’t getting watered properly, no matter what media you are growing in, you will be having problems. Changing things like grow media won’t result in instant success, as there will always be a learning curve when making changes to your cultivation. If you cannot adapt quickly enough, you can quickly create major problems.

plebanisoil
Changing things like grow media won’t result in instant success, as there will always be a learning curve when making changes to your cultivation.

You would be better off to master the grow media you are currently working; you will have more chance of success making slight alterations to your current media than you will if you switch your grow media altogether. There are so many different nutrient lines, soil companies, coco coir companies and the truth is any of them can lead to success.

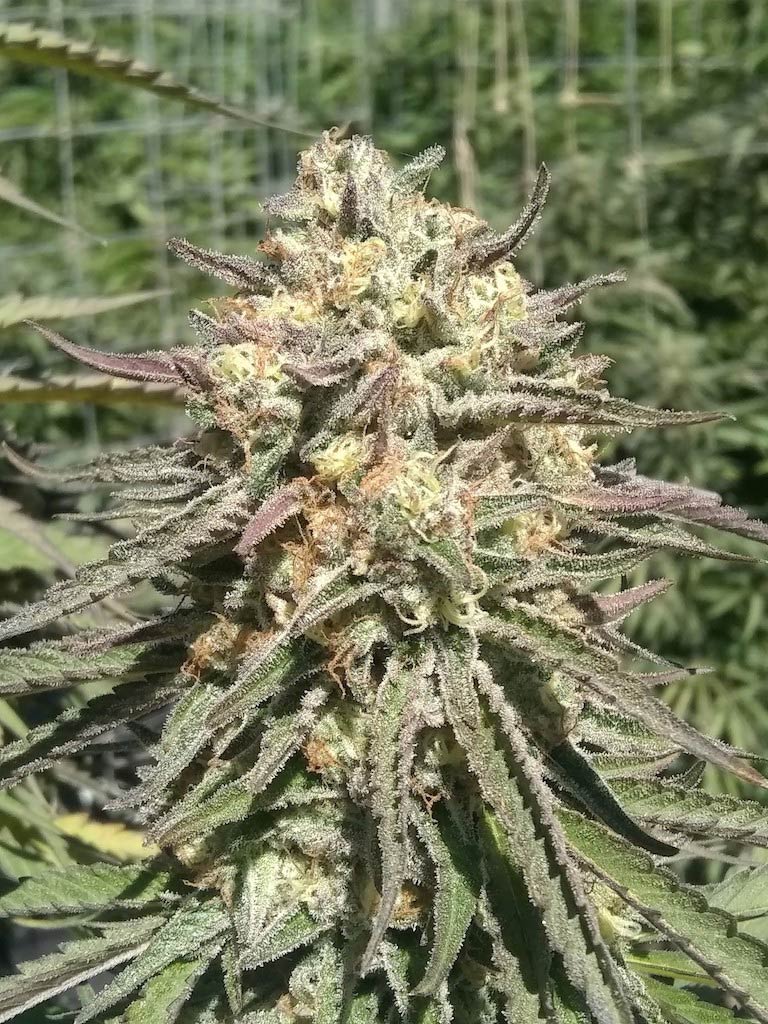
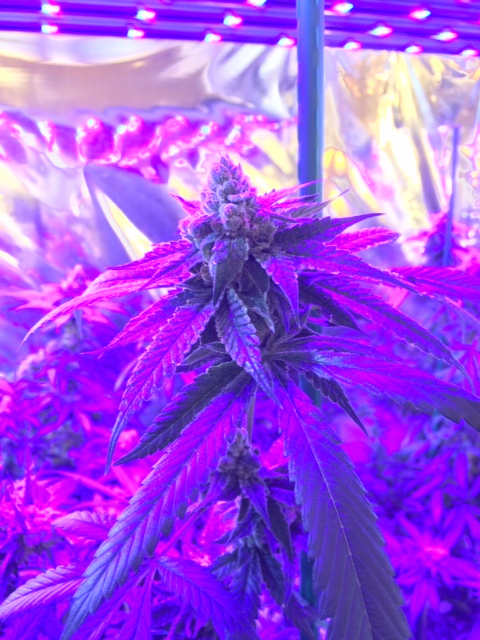
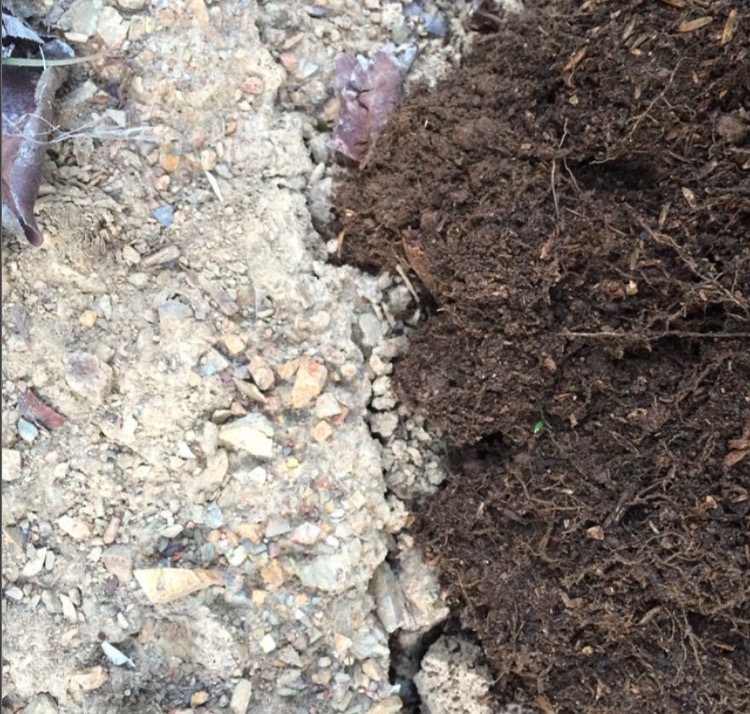
Changing grow media and nutrients do play a large role in quality though. With cannabis being legalized in many states, the overall quality of cultivation inputs have increased, especially nutrients. However, in general, with some exceptions, the quality of cannabis has not necessarily increased along with the increase in quality of nutrients. One exception: I would argue that switching from salt nutrients and rock wool, to organic living soil will result in an improvement to the flavor, quality and terpenes of the cannabis.

A lot of people use rock wool with salts because it’s easier to scale up than if you are growing in soil, but some quality is also sacrificed. Soil is heavy and messy and most people throw their soil away which takes a lot of money and labor to do. Reusing your soil is one of the best ways to save time, money and increase quality. I had a friend that grew the same variety, same lights, same ventilation but grew hydroponically with salt-based nutrients and he would always say the cannabis I grew, organically, tasted better. The same was true when we grew the same variety outdoors. He used salt-based fertilizer, I used amended soil with water. There wasn’t really a comparison in flavor and the yield was not compromised either! This was his opinion not mine.

I think the vast majority of consumers have not seen the type of quality that someone in Northern California who has been smoking and growing for 20 plus years has seen. Quality is relative to what you have been able to acquire. Most people especially nowadays will never see the quality that used to be common when we didn’t treat the sacred herb like a commodity. When you do it for the love of the plant it shows. Remember, quality is relative to your experience and if salty weed is all you know, you are probably missing out.

  1. Why changing your Cultivation manager may not necessarily increase your yield

Every cultivation facility should have an experienced cultivation manager who is knowledgeable in the areas of nutrient requirements, pest management, environmental requirements, managing employees and overall facilities operations. If a grow room cannot sustain the proper environmental set points, blaming the problems and issues that arise on the cultivation manager is not fair. It is a common problem in the cannabis industry – the owners of a company are not seeing the results that they want and think that by replacing the cultivation manager it will solve all their problems. In reality, often the problem results from upper management or owners of the company not providing the cultivation manager the tools necessary to perform their job at the highest level. Another common problem is when owners fire the cultivation manager and replace them with lower-level employees to manage the facility. The problem with this is those employees do not have enough experience nor the attention to detail to successfully run a cultivation facility. The result is that yield and quality suffer tremendously.

  1. You should be harvesting every 60-70 days
If you are cultivating strains that finish flowering in 60 to 70 days you should be getting five harvests per year.

The reality is there is no one specific thing you can try or buy that will result in success. It is everything combined, the HVAC system, lights, genetics being grown, water quality, air quality, root zone temperature, ability to control environment, having a clean facility, disease free plants, knowledgeable cultivation manager etc. that are required to operate a successful cultivation.

But all of that is less important to yield than a good cultivation plan. Cultivation methods directly tie into the overall production of a facility. But, regardless of whether you’re growing in soil, hydroponics, using LED or HPS, have low or high plant counts, if you don’t have the ability to harvest a grow room, clean and replant within a very short amount of time (ideally one or two days) then you’re going to be losing out on profit.

If you’re cultivating strains that finish flowering in under 60 days you should be getting six harvests per year. If you are cultivating strains that finish flowering in 60 to 70 days you should be getting five harvests per year. To do this, you will need to have the appropriate amount of plants that are ready to be flowered to refill your grow room or greenhouse ready to flower. With a little bit of planning and foresight you will be able to do this, and you will be on your way to producing your highest yield potential.

If you are struggling to have enough plants that are ready to flower once you are done harvesting and cleaning your grow room, having trouble planning your cultivation schedule to maximize production, or struggling to maintain a mother and clone room to supply your own plants or planning for the appropriate amount of labor, contact Floresco Consulting and talk with one of our cultivation advisors to get you back on track. We can guide you to ensure you are harvesting, cleaning and replanting every 60 days. Contact us today to get your facility producing at its maximum potential.

The Beginner’s Guide to Integrated Pest Management

By David Perkins
2 Comments

Formulating a Plan

In this article you will learn how to control pests and improve the health of your cannabis plants using integrated pest management, commonly referred to as IPM. This involves a multi-point strategy – there is no quick fix, nor is there one solution that will wipe out all your pest problems. Proper pest management requires patience, consistency and determination.

It is important to understand that not all pesticides are bad. While many are incredibly harmful not only to pests, but also humans, in this article I will educate you about some of the safer alternatives to traditional pesticides. It is possible to safely control unwanted pests in your cannabis garden without harming yourself, your employees or the natural habitat around you.

Every cultivation facility should have a well-thought-out plan for their pest management program. This program should account for the prevention, and if necessary, eradication of: spider mites, russet mites, fungus gnats, root aphids, thrips and caterpillars. These are just a few of the more common pests you’ll find in a cannabis garden. There could also be many other less commonly known bugs, so you have to be vigilant in looking closely at your plants, and the soil, at all times. Complete eradication of a targeted pest can be difficult. Once a pest has established itself, decimating or decreasing the population will require an aggressive regimen that includes spraying daily to control populations and prevent other pests from getting established.

Spraying or applying pesticides to the foliage of plants isn’t the only way to control or eradicate pest populations. There are many other ways that you can minimize the spread of pests without the use of pesticides. In greenhouse and outdoor grows, growing specific types of plants around the cultivation area will attract both beneficial and predator bugs that will naturally control pest populations. Some plants that attract these bugs are: mint, peppers, and marigold. Beneficial and predator bugs, such as ladybugs, predator wasps and predator mites, can control unwanted pest populations in the area before they even have a chance to become a problem in your garden. Plants and flowers that attract bees, birds and insects will also create helpful bio- diversity, making it more difficult for the unwanted pests to thrive.

For indoor cultivation, it is imperative that you have your cultivation facility set up for a proper workflow. If you already have pests, you need to make sure you are not contaminating the rest of your facility when going from one area to the next. Make sure that you only go to contaminated areas at the very end of your day, and when you’re done working in that area, you must immediately exit the building. Do not ever walk back through the uncontaminated parts of your facility or the pests will spread quickly.

An aphid on a plant in a greenhouse

When most people think of pests in their cannabis garden they think of the more common varieties: spider mites, russet mites, aphids and thrips. However, there are also soil-dwelling pests that can exist, without your knowledge. These will decrease the health and vigor of your plants, without you even knowing they’re there, if you’re not careful to check for them. Some of the soil dwelling pests that plague cannabis plants are: root aphids, fungus gnat larvae and grubs. It is just as important to control the pests below the soil, feeding on your roots, as it is to control the pests that feed above soil on your plants.

Maintaining healthy plants is essential to controlling pest populations, both on the foliage and below the soil. Healthy plants will have an easier time fighting off pests than unhealthy plants. Plants have immune systems just like humans, and the stronger the plant’s immune system, the more likely it will be able to ward off pests and diseases. Allowing a plant to reach its full potential, by minimizing pests, means your plants will also have a better quality, smell and flavor, not to mention a bigger yield.

Worker Safety, Regulation and REI times

The application of pesticides requires certification from the state agricultural department. In certain situations, depending on the type of pesticide and method of application, a license may even be required. The application of pesticides without proper certification is against the law. Applying pesticides in a manner that is not in accordance with the label and instructions is also a violation of law.

The proper personal protective equipment (PPE) is required for anybody handling, mixing or applying pesticides. Employees can be a liability to your company if they are applying pesticides improperly. Make sure you and your entire staff are well educated about pesticide use requirements and limitations, prior to usage, and that only a properly certified person is handling the mixing and application at your facility.

The author, David Perkins, In his greenhouse after using insect killing soap.

After a pesticide is applied, you must abide by the re-entry interval (REI). This is the required time period limiting all workers from re-entry into areas where pesticides have been applied. This time period will vary depending on the type of pesticide used and the method of application. In some instances, pesticides applied in the last 30 days may require employee training before work can be done in those areas.

The misuse of or improper handling of pesticides is not only unlawful and dangerous to human health, but can also cause environmental damage to waterways and wildlife. The direct effects of pesticides on wildlife include acute poisoning, immunotoxicity, endocrine disruption, reproductive failure, altered morphology and growth rates and changes in behavior. Pesticides can indirectly impact wildlife through reduction of food resources and refuses, starvation due to decreased prey availability, hypothermia and secondary poisoning. Section 1602 of the California Fish and Game Code governs requirements for permitting of any project where pesticides will be used, and strictly regulates the disposal of all waste and run-off. It is imperative to know the regulations and to abide by them, or heavy fines will ensue!

Using Pesticides in a Regulated Market

Knowing which pesticides you can’t use, to avoid failing mandatory state testing, is just as important as knowing which ones you can use safely to pass required testing. Most states with regulated markets have strict limitations on the pesticides that can be used in cannabis cultivation. Pesticide use in the cultivation of cannabis is the most strictly regulated in the agriculture industry; the pesticides allowed for use in cannabis cultivation are far more limited than any other crop.

Photo: Michelle Tribe, Flickr

Just because a product is certified organic does not mean that it can be used, or that it is safe to be consumed or ingested. Oftentimes when cannabis flower alone is tested it will not fail or show a detectable amount of pesticides or heavy metals. However, when that flower is turned into concentrates, banned substances are then detected in testing, leading to test failures.

Cannabis cultivation facilities that are located on land that was previously used for conventional agriculture, or located near vineyards or other agricultural crops that are heavily sprayed with harmful pesticides, run a very high-risk failing testing. This is because of either spray drift from nearby agriculture, or residual pesticides and heavy metals left in the soil from previous crops that were using pesticides banned for cannabis cultivation. Accordingly, if you’re going to be growing outdoors or in a greenhouse, it is imperative that you get a soil and water test prior to cultivation, so you can determine if there is any potential for test failures due to pesticides or heavy metals in the soil or water in that area. 

Proper Application – Using the Right Tools in the Right Way at the Right Time

One of the most important factors in pest management is proper identification of pests and proper application and coverage of pesticides. It does not require an entomology degree to identify insects, these days there is a lot of information online that can help you identify cannabis pests. Proper identification of insects can make the difference between success and failure. With a good eye and a microscope, if you do your research, you can control most insects in your garden.

In order to control pests in your garden you must get proper coverage of the foliage of the plant when you are applying pesticides. There are different types of equipment that are commonly used to apply pesticides in cannabis cultivation: backpack sprayers, foggers, and airless paint sprayers are the most common. An alternative method involves using an automated dosing system such as a dosatron, which injects fertilizer or pesticides at a specific ratio into your water lines, allowing you to use only the exact amount of pesticide you need. That way you avoid wasting money on unused pesticides. It is also safer for employees because it minimizes employee exposure, since there is no mixing required, and it allows for a large volume to be sprayed, without refilling a tank or a backpack sprayer.

No matter what you are using you must ensure you get the proper coverage on your plants in order to control pests. The temperature and humidity of your cultivation area, as well as the PH and temperature of the pesticide solution, all factor into the success of your IPM. For example, PFR 97 needs to be applied at a higher humidity range, around 70% to be most effective. In some areas this is not possible so repeated applications may be required to ensure the application is effective. A high PH or alkaline PH can cause alkaline hydrolysis which will make your pesticide solution less effective and will dictate how long your pesticides remain effective after they are mixed. It is therefore important to use your pesticide solution as soon as you make it; don’t let it sit around for long periods of time before use or it will be less effective.

In cannabis cultivation there are two different primary growth cycles: vegetative and flower. These cycles require different IPM strategies. In general, during the flowering cycle, pesticides should not be applied after the second week, with some limited exceptions i.e. for outdoor cultivation there is a longer window to spray since the flower set takes longer than a plant being grown inside, or in a light deprivation greenhouse, where there is a 12/12 flowering cycle.

Starting with an immaculate vegetation room is crucial to maintaining pest and mold free plants in the flowering cycle.

For the vegetative (non-flowering) cycle, a strict rotation of foliage spray applications targeting not only pests, but also molds and pathogens, will be necessary to avoid a quick onset of infestation. Starting with an immaculate vegetation room is crucial to maintaining pest and mold free plants in the flowering cycle. Preventative sprays that are safe for use include: safer soap (contact kill) for soft bodied chewing insects; Regalia (biological control) for powdery mildew; and PFR 97 (biological control) for soft bodied chewing insects. It is also helpful to spray kelp, which strengthens the cell walls of plants, making the plant healthier, and thus enabling the plant to better defend itself from pests and diseases. Also, Bacillus thuringiensis (Bt) is useful to prevent or kill caterpillars.

The best way to control a pest infestation in the flowering cycle is at the very beginning on day one. You must start aggressively, with a three-way control consisting of a contact kill and preventative during days 1-14; preventative and biological control during days 10-18; and then release predator bugs on day 25, for optimal results. Knocking back the population with an effective contact kill pesticide early on is essential to ultimately lowering populations throughout the grow cycle, so that you can spray a biological control to preclude them from returning, before you release the predatory bugs at the end of the cycle.

Biological controls can take anywhere from 3 to 10 days before they are effective. Biological pesticides are selected strains of bacteria or fungus. When the plant tissue is eaten by a targeted pest, the bacteria kills the pest from the inside providing control without having to spray pesticides repeatedly. Predator bugs are the last line of defense, used in late flowering. They can be used indoors, outdoors and in greenhouses. An example of a common predator bug is Amblyseius californicus used to control low populations of spider mites, but there are many different varieties and they are specific depending on the type of pest population you seek to control.

A common concern with the use of predatory bugs, is whether they will be present when the flowers are harvested. However, if there is no food for the bugs (i.e. pests) the predator bugs will leave in search of food elsewhere. Further, indoor predator bugs are usually very small in size and difficult to see to an untrained eye. It is very unlikely to see any signs of predator bugs near the end of the flowering cycle, or in the finished flower product. Even when using bigger predator bugs, the bugs will leave the plants when harvested and dried.

Having pests can be very stressful. It is not uncommon to have bugs, pests, rodents, animals and birds cause damage in cannabis gardens. Making an informed decision based on science and not on unproven assumptions can determine how successful you are at pest management. There are many factors that go into pest management and no one situation is the same. You must be dedicated and consistent; pest management never stops. You will always have something ready to invade your garden. Prepare, plan, prevent and repeat!

Soapbox

Increase Density in your Canopy

By Carl Silverberg
No Comments

One goal all growers seem to agree on is the need to increase density in their houses. How that gets done, well, there are a variety of ways and here’s one way a grower chose to do it:

With 45,000 square feet of greenhouse space, Nathan Fumia, a cannabis grower and consultant for a commercial operation in California, wasn’t pleased with what he was seeing. “If I put my hand inside the canopy and I can see sunlight on it, I’m losing money,” was how he described the situation. Unfortunately, the operators and staff of the greenhouse disagreed. They thought increasing density would rob the leaves of needed light.

He chose to test his theory by increasing the number of plants on one of his benches from 140 to 150 plants. To ensure the validity of the research, Nathan grew the same strain on Bench 1 as Bench 2, and to make sure all the metrics were equal, he even processed the crops separately. After weighing, Bench 2 (his research bench) showed an 8% higher yield than Bench 1.

“The post-harvest data from the weight, yield confirmed my decision to maximize density by increasing the total number of plants per bench,” says Fumia. “Whenever I saw red on the canopy heat map from LUNA, I knew there was room for improvement and I knew that I wasn’t making the money that I should have from those areas.”

His next challenge was where to place the extra ten plants? Did it make a difference or could he just shove 150 plants in a space that was originally planned for 140? Again, his greenhouse system was able to pinpoint the best sub-sections on the benches and Nathan was able to see exactly which plants were growing the fastest. That also gave him the ability to understand why certain quadrants of the bench were doing better than others.

“We were able to determine which quadrant on which bench was already at 100% density, and determine which quadrant wasn’t. Without that data, it would have been pure guesswork.”

He dialed down even further to find out which cultivars grew the best on a particular bench in the greenhouse. “Some cannabis cultivars need more light, some need less, some need warmer climates, and some need cooler climates,” Fumia noted. “Additionally, in order to increase the density of flowering points/buds, we began focusing on better pruning techniques in the vegetative phase, directly increasing branches for flowering.”

With optimization even more important now than it was 12-18 months ago, Nathan summed up the impact on his bottom line. “With a crop cycle averaging just over six a year, at that time we were averaging $600-$800 a pound depending on the strain. Some were even more. Ten extra plants per bench per cycle was a nice bounce for us.”

Obviously, this isn’t the only way to increase density. What’s your suggestion? Share your ideas with the rest of us by posting your comments below.

Why the Central Chiller Isn’t So Central to Grow Room HVAC

By Geoff Brown
6 Comments

There’s a better way to design HVAC for cannabis grow rooms, and it may seem a little odd at first.

Central chillers are a tried-and-true solution for projects requiring large refrigeration capacity. They’re found in college campuses, hospitals, office buildings and other big facilities.

While central chillers are a good default for most large-scale applications, they fall short in this industry. Grow rooms, with their need for tight, variable conditions and scalable, redundant infrastructure, have HVAC requirements that the central chiller model simply can’t deliver on.

Let’s unpack the shortcomings with the central chiller in this niche and explore some possible solutions.

What’s Wrong With Chillers?

Building a scalable HVAC system is essential for the cannabis industry as it continues to ramp up production in the U.S. and Canada.

Many growers are building their large facilities in phases. In Canada, this is common because growers must have two harvests before they can receive a production permit, so they build just one phase to satisfy this requirement and then build out the facility after the government’s approval.

This strategy of building out is less feasible with a central chiller.

solsticegrowop_feb
Indoor cultivator facilities use high powered lights that give off heat, requiring an efficient air cooling system.

A chiller and its supporting infrastructure are impractical to expand, which means it and the rest of the facility needs to be built to full size for day one, even though the facility will be in partial occupancy for a long time. This results in high upfront capital costs.

If the facility needs to expand later down the road, to meet market demand for example, that will be difficult because, as mentioned, it’s expensive to add capacity to a central chiller.

Additionally, the chiller creates a central point of failure for the facility. When it goes down, crops in every room are at risk of potentially devastating loss. Grow rooms are unusual because of their requirement for strict conditions and even a slight change could have big impact on the crop. Losing control due to mechanical failure could spell disaster.

One Southern Ontario cannabis grower met with some of these issues after constructing their facility, which uses a central chiller for cooling and dehumidification. The chiller was built for full size, but the results were disappointing as early as phase one of cultivation. While sensible demands in the space are being easily met, humidity levels are out of control – flowering rooms are up to 75% RH.

Humidity is one of the most important control aspects to growers. Without a handle on it, growers risk losing their entire crop either because there’s not enough and the plants dry out, or there’s too much and the plants get mold disease. This facility has fortunately not yet reported serious crop issues but is mindful of the potential impact on harvest quality.

By going unitary, capital costs scale on a linear basis.If tight control over humidity is what you need, then a chilled water system needs very careful consideration. That’s because typical chiller system designs get the coils cold enough to lower the air temperature, but not cold enough to condense water out of the air as effectively as a properly designed dehumidifier coil.

A chilled water system capable of achieving the coil temperatures needed for adequate dehumidification in a typical flower room will also require full-time reheat to ensure that air delivered to the plants isn’t shockingly cold — either stunting their growth or killing them altogether. This reheat source adds complexity, cost and inefficiency which does not serve growers well, many of whom are under pressure from both utilities and their management to minimize their energy usage.

How Do Unitary Systems Solve These Problems?

Compared to central chillers, a unitary setup is more agile.

A facility can commence with the minimum capacity it needs for start-up and then add more units in the future as required. They’re usually cheaper to install than a central system and offer several reliability and efficiency benefits as well.

The real business advantage to this approach is to open up the grower’s cash flow by spreading out their costs over time, rather than a large, immediate cost to construct the entire facility and chiller for day one. By going unitary, capital costs scale on a linear basis.

Talltrees
One of the flowering rooms in an indoor set up (Image: Tall Trees LED Company)

Growers can have more control over their crop by installing multiple units to provide varying conditions, room-by-room, instead of a single system that can only provide one condition.

For example, flowering rooms that each have different strains of crop may require different conditions – so they can be served by their own unit to provide variability. Or, rooms that need uniform conditions could just be served by one common unit. The flexibility that growers can enjoy with this approach is nearly unlimited.

Some growers have opted for multiple units installed for the same room, which maximizes redundancy in case one unit fails.

A cannabis facility in the Montreal area went this direction when building their HVAC system. Rather than build everything in one shot, this facility selected a unitary design that had flowering rooms served independently by a series of units, while vegetation rooms shared one. The units were sized to provide more capacity than currently required in each room, which allows the grower to add more plants and lighting in the future if they choose.

This facility expects to build more grow rooms in a future phase, so it was important to have an intelligent system that could accommodate that by being easy to add capacity to. This is accomplished by simply adding more units.Multiple, small systems also have a better return-on-investment.

The grower, after making a significant investment in this facility, was also averse to the risk of losing crop due to mechanical failure, which is why they were happy to go with a system of independent grow room control.

Multiple, small systems also have a better return-on-investment. Not only are they easier to maintain (parts are easier to switch out and downtime for maintenance is minimal) but they can actually be more efficient than a large, central system.

Some units include heat recovery, which recycles the heat created by the dehumidification process to efficiently reheat the unit’s cold discharge air and keep the space temperature consistent, without needing expensive supplementary heaters. There’s also economizer cooling, which can be used to reduce or even eliminate compressor usage during winter by running the unit on dry outside air only.

Demand for cannabis continues to increase and many growers are looking to expand their businesses by adding new facilities or augmenting existing ones. Faced with the limitations of the traditional chiller system, like the lack of flexibility, scalability and redundancy, they’re looking for an intelligent alternative and the unitary approach is earning their trust. It’s expected this option will soon become the leading one across North America.

Image 2: Temperature display provides quick view of sensor data

10 Questions To Ask Before Installing a Remote Monitoring System

By Rob Fusco
No Comments
Image 2: Temperature display provides quick view of sensor data

No matter the size of your cannabis greenhouse operation, keeping your plants alive and healthy requires the best possible growing environment. This means greenhouse managers and personnel must frequently monitor the status of environmental conditions and equipment. The sooner someone discovers extreme temperature fluctuations, rising humidity or equipment failure, the more inventory you can save.

Image 1: Cloud-based remote monitoring system in protective enclosure
Cloud-based remote monitoring system in protective enclosure

That’s why integrating a remote monitoring system into your greenhouse operation can save you time, money and anxiety. Monitoring systems that use cloud-based technology let you see real-time status of all monitored conditions and receive alerts right on your mobile device.

Installing a monitoring system and sensors can be easier than you might think. Here are answers to ten questions to ask before installing a cloud-based monitoring system:

  1. What is required to use a remote monitoring system?

Most remote monitoring systems require an internet or WiFi connection and access to an electrical outlet. Programming is done through a website, so it’s easiest to use a computer for the initial setup. If you don’t have an internet connection at your location, you’ll want to choose a cellular system. Make sure that there’s sufficient signal strength at your site, and check the signal quality in the area before purchasing a cellular device.

2. How do we determine what kind of monitoring system and sensors we need?

A reputable manufacturer will have a well-trained support team that can assess your needs even without a site visit to determine which products are best for your application. If you feel you need them to check out your greenhouse operation,many companies can set up a video conference or FaceTime chat to substitute for being on site.

You will want to provide details about the scope and purpose of your cannabis growing operation. Important factors to discuss include:

  • Skeletal structure of the greenhouse (metal, plastic, wood, etc.) and the covering material (glass or plastic).
  • Floor space square footage and height of each of your greenhouses.
  • Number of greenhouse structures in your operation.
  • Outdoor climate to determine if you rely more on heating or air conditioning and the level of humidity control needed.
  • Space dedicated to phases of growth (cloning and propagation, vegetative, flowering) and the microclimates needed for each.
  • Types of lighting, ventilation and irrigation systems.
  • Level of technological automation versus manual operation in place.

The monitoring system representative will then determine the type of system that would best serve your operation, the number of base units you will need and the types of sensors required.

Image 2: Temperature display provides quick view of sensor data
Temperature display provides quick view of sensor data

The representative should also be able to provide tips on the placement of the sensors you’re purchasing. For example, to ensure thorough air temperature coverage, place sensors throughout the greenhouse, next to the thermostat controlling the room temperature and in the center of the greenhouse out of direct sunlight.

Note that there shouldn’t be a cost for a demo, consultation or assistance throughout the sales process. Be sure to ask if there are any fees or licenses to keep using the monitoring equipment after you purchase it.

3. Are sensors included with the monitoring system?

In most cases, sensors are sold separately. The sensors you select depend upon the conditions you want to monitor and how many you can connect to your base unit. Certainly, temperature is critical, but there are many other factors to deal with as well, such as humidity, CO2, soil moisture, water pH, power and equipment failure, ventilation and physical security.

For example, humidity has a direct impact on the photosynthesis and transpiration of plants. High humidity can also cause disease and promote the growth of harmful mold, algae and mildew. Sensors can detect changes in humidity levels.

Image 3: Water pH sensor
Water pH sensor

Like any other plant, cannabis needs COto thrive, so it’s a good idea to include a COsensor that will signal to the monitoring device when readings go out of the preset range. There are even sensors that you can place in the soil to measure moisture content to help prevent over- or underwatering, budget water usage costs, promote growth and increase crop yield and quality.

Of course, all the critical systems in your growing facility—from water pumps to irrigation lines to louvers—rely on electrical power. A power outage monitoring sensor detects power failure. It can also monitor equipment for conditions that predict if a problem is looming, such as power fluctuations that occur at specific times.

Ventilation systems not only help control temperature, they also provide fresh air that is critical to plant health. Automated systems include features like vented roofs, side vents and forced fans. Sensors placed on all these systems will send personnel an alert if they stop running or operate outside of preset parameters.

To monitor the physical security of your greenhouses, you can add sensors to entrance doors, windows, supply rooms and equipment sheds. During off hours, when no staff is on duty, you can remain vigilant and be alerted to any unauthorized entry into your facility.

4. Do monitoring systems only work with the manufacturer’s sensors?

Not necessarily. For example, certain monitoring units can connect with most 4-20mA sensors and transmitters regardless of the brand. When selecting sensors, you might have a choice between ones that are designed by the manufacturer to work specifically with the monitoring system or universal components made by a third party. If the components aren’t made by the system manufacturer, you’ll want to find out if they have been tested with the monitor you are choosing and if you need to work with another vendor to purchase the parts.

A humidity sensor mounted in a weatherproof enclosure

5. Is a monitoring system easy to set up, or do we need to hire an electrician?

Many monitoring systems are quick and easy to install, and users can often set them up without hiring an outside expert. Look for one that requires only a few simple physical installation steps. For example:

  1. Mount the device to the wall or somewhere secure;
  2. Plug it into an electrical outlet and an internet connection;
  3. Connect the sensors.

You connect the sensors to the base unit’s terminal strip using wire, which is included with many sensors. The range of many wired sensors can be extended up to 2,000 feet away from the base unit by adding wire that can be easily purchased at any home store. It’s a good idea to hire an electrician if you need to run wires through walls or ceilings.

Usually, once you plug in the device and connect the sensors, you then create an account on the manufacturer’s designated website and begin using your device. There should be no fee to create an account and use the site.

If the manufacturer doesn’t offer installation services, ask if they can recommend a local representative in your area who can set up your system. If not, make sure they provide free technical support via phone or email to walk you through the installation and answer any questions you might have about programming and daily usage.

6. Is there a monthly fee to access all the functionality of a monitoring device?

Many web- or cloud-based systems provide free functionality with some limitations. You might have to purchase a premium subscription to unlock features such as text messaging, phone call alerts and unlimited data logging access.

 7. Should we get a system that is wired or wireless? Will we need to have a phone line, cable, internet or something else?

Wireless can mean two different things as it relates to monitoring: how the system communicates its data to the outside world and how the sensors communicate with the system.

The most popular systems require an internet or WiFi connection, but if that’s not an option, cellular- and phone-based systems are available.

A hardwired monitoring system connects the sensors to the base device with wires. A wireless system uses built-in radio transmitters to communicate with the base unit. Some monitoring systems can accommodate a combination of hardwired and wireless sensors.

8. Can one system monitor several sensor inputs around the clock?

Once the monitoring system is installed and programmed, it will constantly read the information from the sensors 24/7. Cloud-based systems have data logging capabilities and store limitless amounts of information that you can view from any internet-connected device via a website or app.

If the system detects any sensor readings outside of the preset range, it will send an alarm to all designated personnel. The number of sensors a base unit can monitor varies. Make sure to evaluate your needs and to select one that can accommodate your present situation and future growth.

When a monitoring system identifies a change in status, it immediately sends alerts to people on your contact list. If you don’t want all your personnel to receive notifications at the same time, some devices can be programmed to send alerts in a tiered fashion or on a schedule. Multiple communications methods like phone, email and text provide extra assurance that you’ll get the alert. It’s a good idea to check the number of people the system can reach and if the system automatically cycles through the contact list until someone responds. Some systems allow for flexible scheduling, so that off-duty personnel don’t receive alerts.

9. Do monitoring systems have a back-up power system that will ensure the alarming function still works if the power goes out or if someone disconnects the power?

The safest choice is a cloud-based system that comes with a built-in battery backup that will last for hours in the event of a power failure. Cloud-based units constantly communicate a signal to the cloud to validate its online status. If the communication link is interrupted—for example by a power outage or an employee accidently switching off the unit—the system generates an alarm indicating that the internet connection is lost or that there is a cellular communications problem. Users are alerted about the disruption through phone, text or email. All data collected during this time will be stored in the device and will be uploaded to the cloud when the internet connection is restored.

If you opt for a cloud-based monitoring system, make sure the infrastructure used to create the cloud platform is monitored 24/7 by the manufacturer’s team. Ask if they have multiple backups across the country to ensure the system is never down.

10. What should we expect if we need technical support or repairs to the system?

Purchase your system from a reputable manufacturer that provides a warranty and offers full repair services in the event the product stops working as it should. Also, research to make sure their tech support team is knowledgeable and willing to walk you through any questions you have about your monitoring system. Often, support specialists can diagnose and correct unit setup and programming issues over the phone.

It helps to record your observations regarding the problem, so the tech team can look for trends and circumstances concerning the issue and better diagnose the problem. Ideally, the manufacturer can provide loaner units if your problem requires mailing the device to their facility for repair.

Soapbox

Are LED Grow Lights Worth It?

By Dr. Zacariah Hildenbrand, Robert Manes
13 Comments

There really is no question that Light Emitting Diodes (LEDs) work, but just how well do they work?

For the last 50+ years, indoor cannabis cultivators have used High Pressure Sodium (HPS) lights to illuminate their flowering crops. This technology was developed for, and is still used, as street lighting and there really hasn’t been a fundamental change to the output in the last half century.LED technology showed great promise to solve some of the primary drawbacks to the use of HPS technology for indoor cannabis cultivation. 

We are often asked why this technology was used to grow cannabis, and the answers are simple: 1) due to strict legislation and even stricter penalties for growing cannabis, growers wished to move their crops indoors, and, 2) there really hasn’t been another technology that would allow us to cheaply place 400, 600, or even 1000W of light on a crop. In addition, HPS technology is rich in certain frequencies of red light, which is so important to flowering crops. Unfortunately, HPS lamps have their drawbacks, such as high heat output and lack of other “colors,” along the lighting spectrum. In fact, up to 95% of light produced by an HPS lamp is emitted in the infrared range, which we perceive as heat.

Enter the Light Emitting Diode. LED technology showed great promise to solve some of the primary drawbacks to the use of HPS technology for indoor cannabis cultivation. The ability to manipulate spectrum, precision delivery of light, elimination of dangerous heat, and lack of substantive toxic chemical makeup are a few reasons to deploy LEDs. However, as with any new technology, there were some significant hurdles to overcome.

Early experimentation using Light Emitting Diodes (LEDs) to grow cannabis, suffice to say, did not go well.  Poor performance, misleading advertising and equipment failures plagued the first mass-produced LED grow lights. The aspect of poor performance can be blamed on several factors, but the most prominent are very low efficacy, in terms of light produced per Watt consumed, and incorrect application of spectrum (color) for horticultural purposes. Causes of “misleading advertising” was a mixed bag of dubious sales pitches and lack of understanding the technology and of horticultural lighting requirements. Additionally, there certainly were some quality control issues with LEDs and electronics equipment in general, especially from offshore manufacturers in China and Korea.

A plant in flowering under an LED fixture

That legacy of poor performance still has a partial hold on the current indoor cannabis cultivation industry. Many of the current “Master Growers” have tried LEDs at some point and for the various reasons mentioned above, reverted to HPS lighting. Some of this reluctance to embrace LEDs comes from unfamiliarity with application of the technology to grow better cannabis, while some can be attributed to stubbornness to deviate from a decades-long, tried-and-true application of HPS lighting.

Certainly, growing with LEDs require some changes in methodology. For instance, when using true “full spectrum” grow lights, more nutrients are consumed. This is caused by stimulation of more photoreceptors in plants. To further explain, photoreceptors are the trigger mechanisms in plants that start the process of photosynthesis, and each photoreceptor is color/frequency-dependent. True full spectrum LED systems fulfill spectrum shortages experienced with HPS technology. Anyone that grows with LEDs will at some time experience “cotton top,” or bleaching at the upper regions of their plants.  Increased nutrient delivery solves this issue.

As we continue to uncover the vast medical potential of cannabis, precise phytochemical composition and consistent quality will become all-important.While the industry is still saturated with confusing rhetoric and some poorly performing equipment, LEDs are gaining momentum in the cannabis market. LED efficacies have increased to levels far greater than any other lighting technology. Broad spectrum white and narrow-frequency LEDs in all visible (and some invisible to the human eye) colors are being produced with great precision and consistency. Quality control in manufacturing is at an all-time high and longevity of LEDs has been proven by the passage of time since their introduction as illumination sources.

As the world embraces LED horticultural lighting, probably the most encouraging news is that current and upcoming generations of cannabis growers are more receptive to new ideas and are much more tech-savvy than their predecessors. Better understanding of cannabis-related photobiology is helping LED grow light manufacturers produce lighting that increases crop yields and perhaps more importantly, cannabis quality. As we continue to uncover the vast medical potential of cannabis, precise phytochemical composition and consistent quality will become all-important.

Obviously, the indoor cannabis industry is expanding rapidly and this expansion raises deep environmental concerns. More power is being used for indoor lighting, and for the cooling required by this lighting. Power systems are being taxed beyond forecasts and in some cases, beyond the capabilities of the infrastructure and power companies’ ability to produce and deliver electricity.  Some states have proposed cannabis-related legislature to limit power consumed per square foot, and some are specifically requiring that LEDs be used to grow cannabis. While some business leaders and cultivation operators may groan at the acquisition cost and change in operating procedures when deploying LEDs, common sense states that it is imperative we produce cannabis applying the most environmentally friendly practices available.

Operational Inefficiencies in Commercial Cannabis Cultivation

By Drew Plebani
2 Comments

From the perspective of sustainable cannabis cultivation models, it seems clear that outside of the particular cultivation methodology adopted, that operational efficiency and the implementation of lean manufacturing principles will be necessary for successful and truly “sustainable” businesses, in the current, ever growing, cannabis space.

Implementing lean manufacturing principles as an integral part of the cannabis cultivation facility just makes sense- it is a manufacturing operation after all. From a lean perspective, doing away with the non-value-added costs in the supply chain and production model are quite important.

Let’s look at this case study as evidence for the necessity of operational efficiency:

A 300-light flowering, indoor cultivation facility in Colorado.

The system was purchased with ongoing pest/disease issues, recent updates to Colorado’s approved pesticide list, had prompted the implementation of an updated integrated pest management (IPM) program, which had been moderately successful in developing an albeit short-term solution to keeping ongoing root aphids, powdery mildew, and botrytis, to name a few, at bay.

This existing facility was producing roughly 60 pounds of trimmed cannabis per week, equivalent to almost $6M annual gross, however they were losing a percentage of their yields to product that did not pass Colorado’s contaminant testing requirements.

It is important to note that any deviation from the existing manufacturing schedule and system would create a change to the potential productivity of the system, for better or worse.

At the most basic level, one would hope that a new operator taking over an existing facility would analyze the system and implement incremental or perhaps major changes to create more efficient and profitable outcomes. That being said, currently the average grower likely doesn’t have much understanding of the lean manufacturing process. That will undoubtedly change.

When we look at basic manufacturing facility operations, on an annual gross potential basis, each daily task not completed on the existing manufacturing timeline is, at least, a 0.3% (1/365) loss in potential productivity. In monetary terms, for this particular facility, each 0.3% equates to a potential $18,000 in lost productivity.

The information that follows is taken from observations during the first week of this facility ownership transition and below is a generalized outline representing just one aspect of the operational inefficiencies (created or existing) that were observed :

  • Plant group A put into flowering 4 days behind schedule (4 days x 0.3%) =1.2%
  • Plant group B transplanted 3 days behind =0.9%
  • Plant group C transplanted 7 days behind =2.1%
  • Plant group D (clones) taken 7 days behind =2.1%
  • IPM applications not completed for 7+ days

That equals a 6.3% loss in potential annual productivity, which translates into a rough estimate of up to $378,000 in lost revenue.

Changes to the nutrient program in the midst of the plant’s life cycle had created nutrient deficient plants in all stages of vegetative and flowering growth, coupled with changes to the existing IPM program, all add to the potential losses incurred. Deviations in the plant nutrition program and IPM scheduling are hard to quantify mid-cycle, but will certainly be quantifiable when the hard numbers come home to roost.

These inefficiencies, once compounded, could potentially equal more than a 20% loss in potential productivity during the subsequent 3.5 month plant cycle. The current 60 pounds-per-week would likely be reduced for the next 2 months, down to roughly 50 pounds, or even much less, per-week. This could become a loss upwards of $500,000 in annual potential revenue in the first quarter of operation alone.

These seemingly small and incremental delays in the plant production cycle are all greatly compounded. The end result is that each subsequent cycle of plants is slightly smaller due to delays in transplanting and less days at maximized vegetative growth, etc. Undoubtedly, the cumulative effect of these operational inefficiencies creates a significant drop in the existing level of productivity, with the end result being a significant, undesired loss of revenue.

The sum of the lessons learned from this cultivation facility, is this: a sustainable operation, in the most pragmatic sense, is an efficient one both in terms of productivity and in terms of the carbon footprint and waste generated. The more streamlined and successful the operations are, the greater likelihood of success. Perhaps all of this is to say don’t forget about all the little parts that make up the whole, and strive to create a work environment/corporate culture that empowers your employees, your managers and all involved to participate and contribute to the process of improving the operations for mutual benefit.

Lessons learned from the aerospace manufacturing industry: Even the smallest zip tie on a spaceship matters! Some food for thought: If it’s truly beneficial it should stick around… If it is beneficial and it’s not sticking around, then there are limiting factors in the system that need to be addressed.